I am truly a lucky guy. For Christmas, I put a bunch of expensive stuff on my Christmas list, and Supermodel Wife pooled resources with her family to purchase a Solidoodle 3D printer for me. Even more amazingly, she convinced her parents and brother to split the cost with her, when they really didn't understand what they were buying. (Her dad later mentioned that he couldn't understand why a printer cost so much.)
Does my wife love me, or what! (This is the part where all of you guys post comments of how jealous you are of my amazing wife.)
The order was placed in late November and shipped mid January. It was shipped to her parent's house and they delivered it on Thursday. I documented the unboxing for posterity and thought I'd share it with the world.
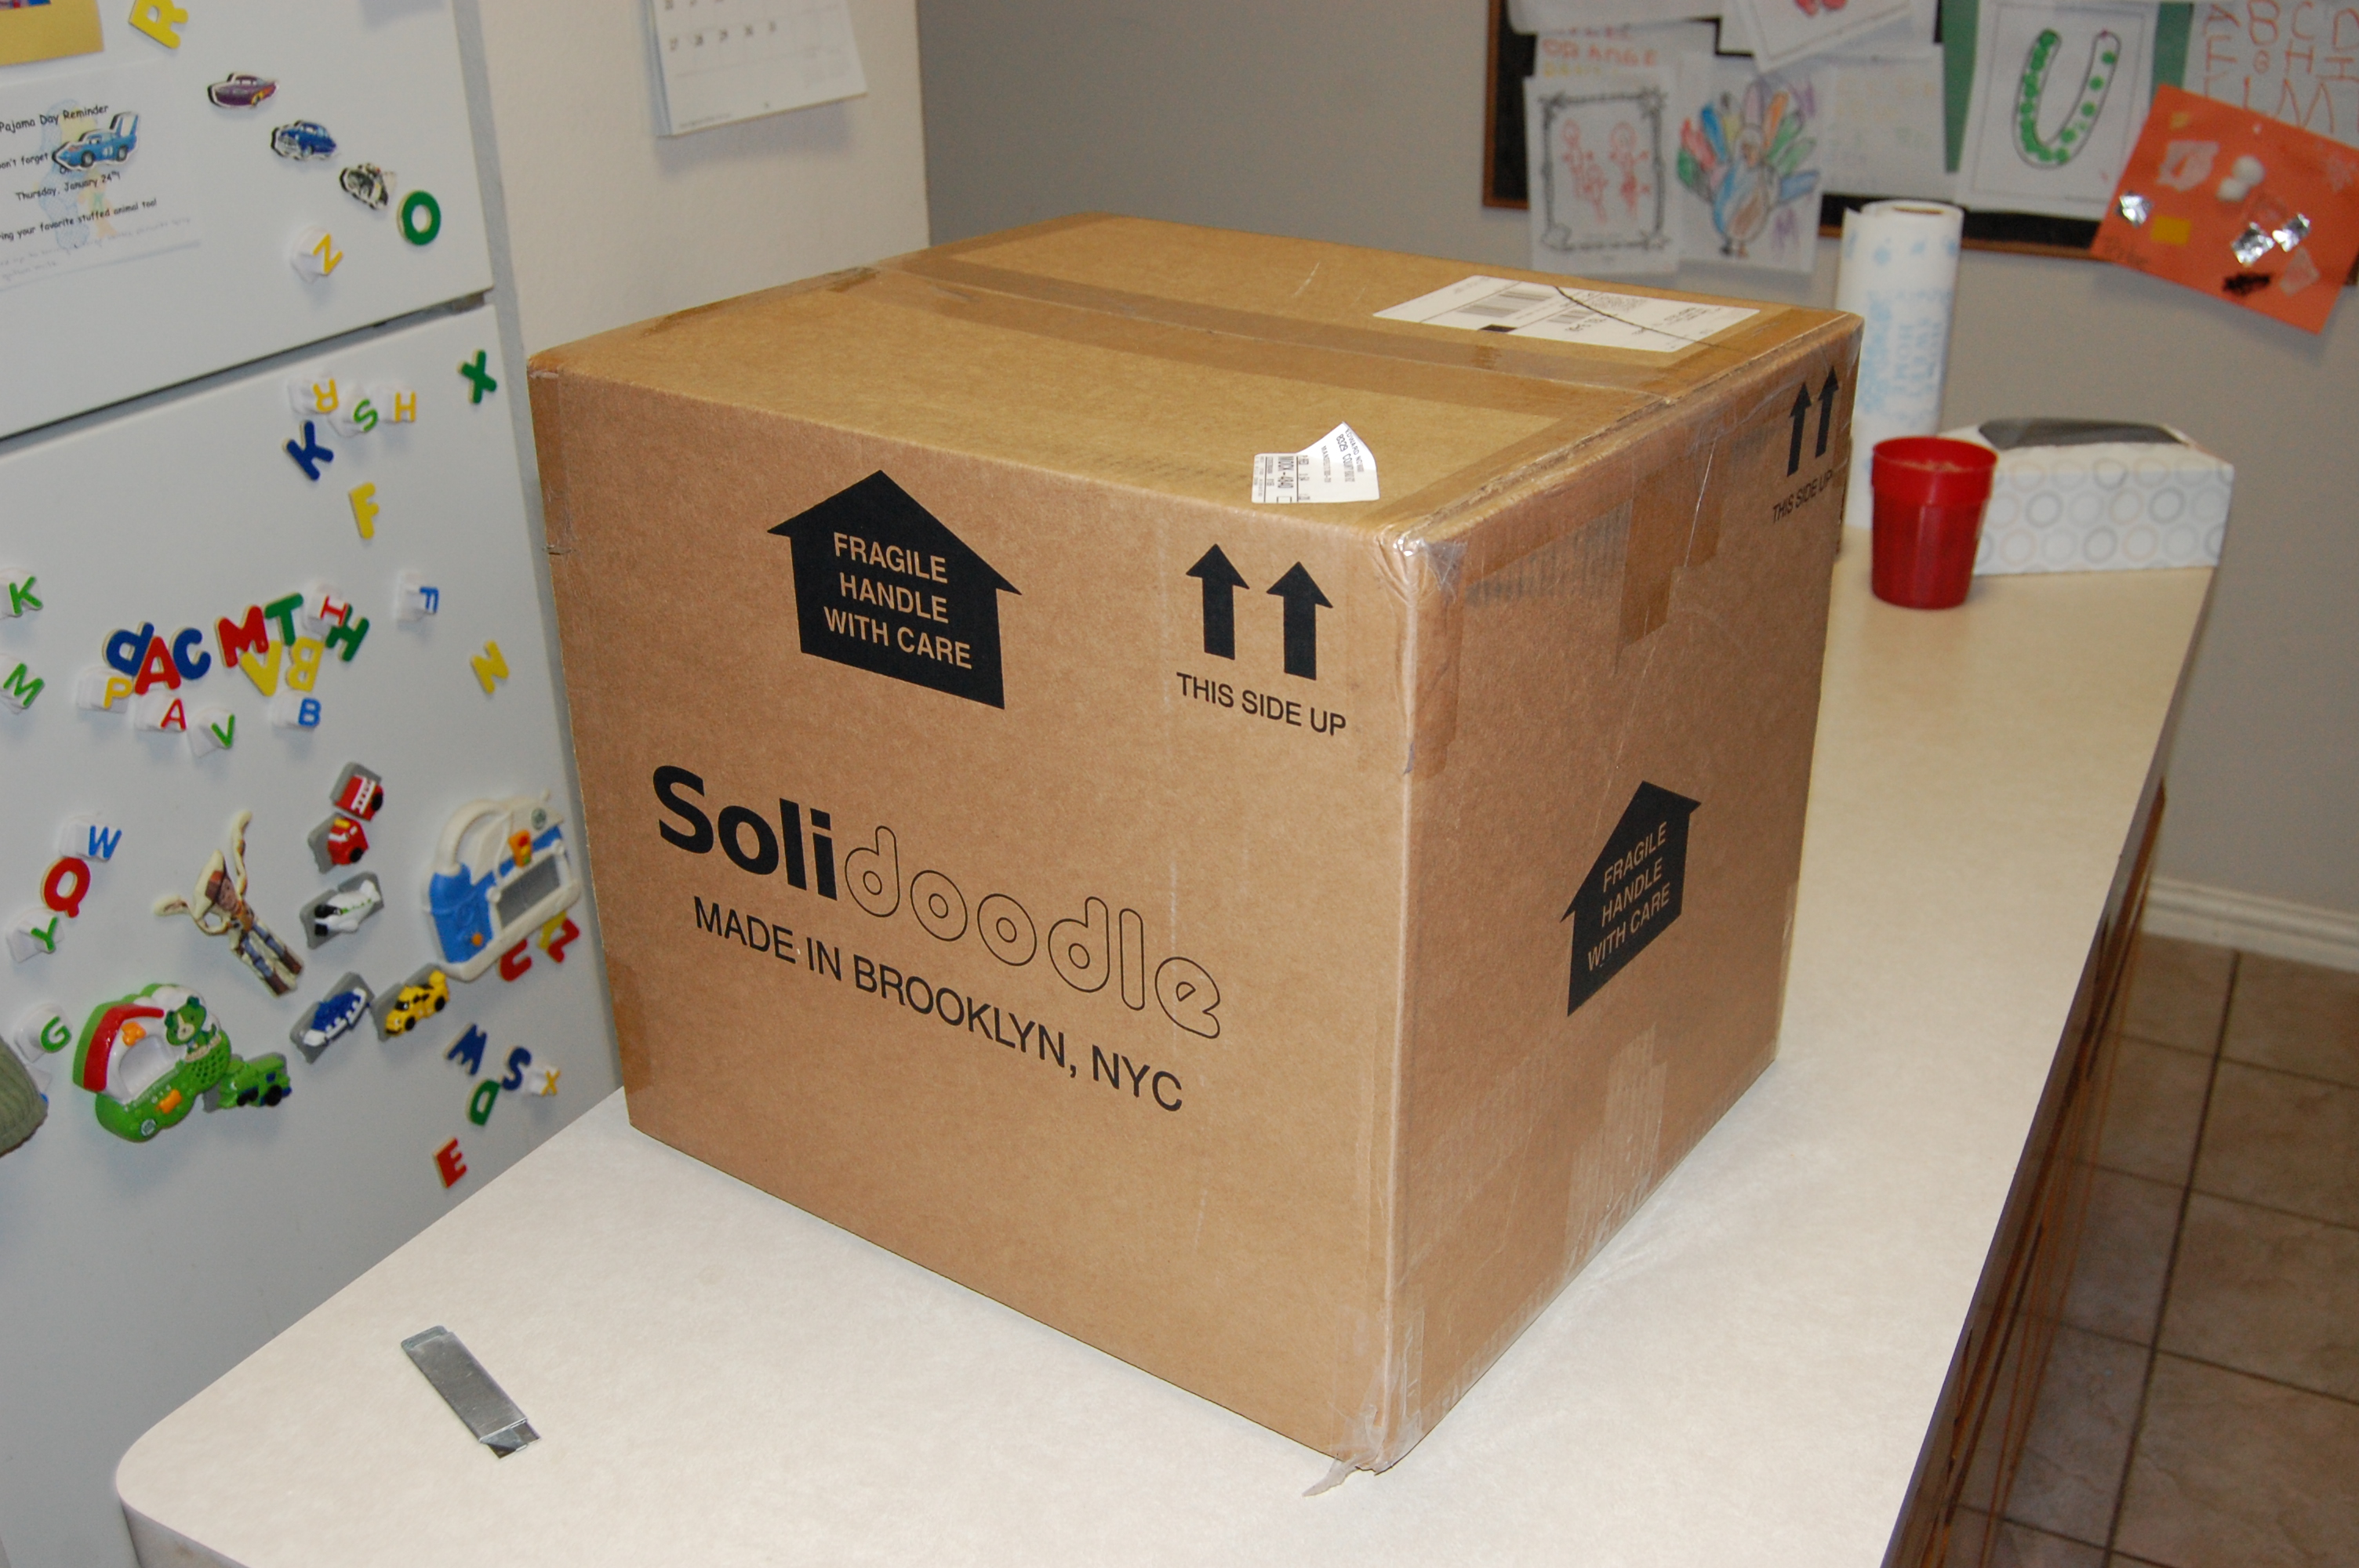
The Solidoodle arrived with hacker goodness printed all over the box:
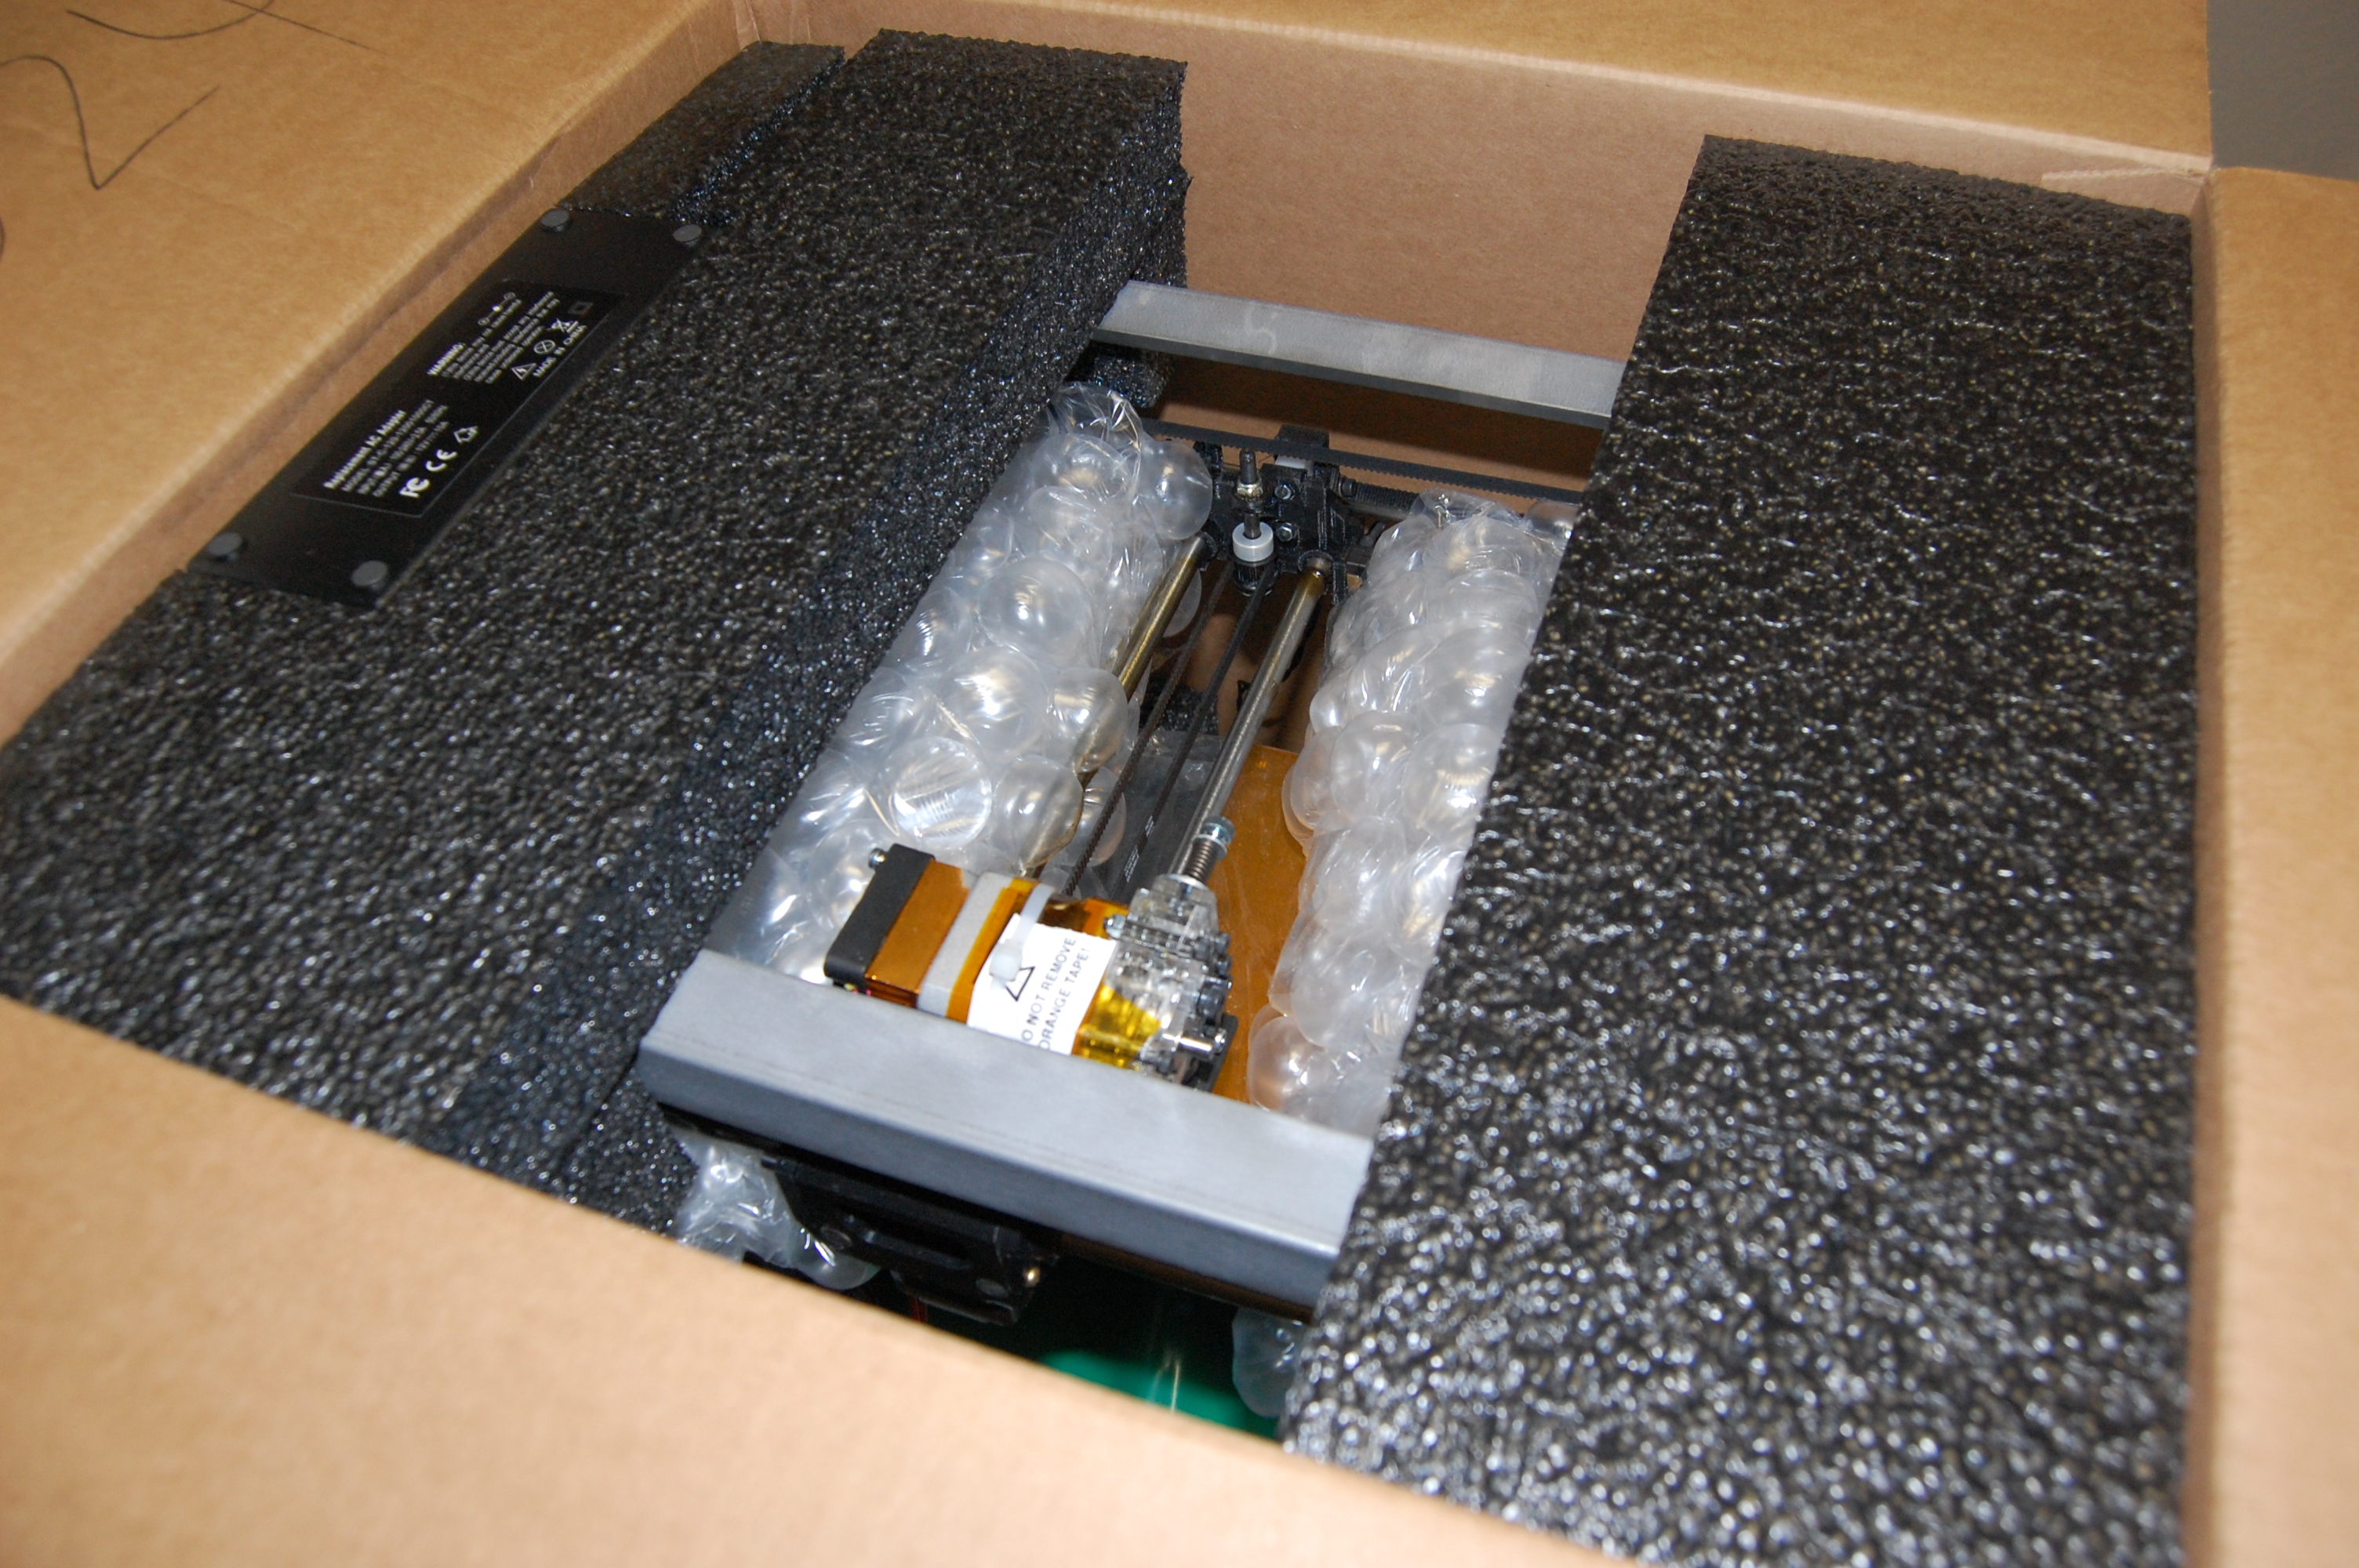
Inside the box, the Solidoodle is held snugly by custom-fit foam padding which holds a power supply. The extruder head is visible below, causing a mini explosion of hacker delight:
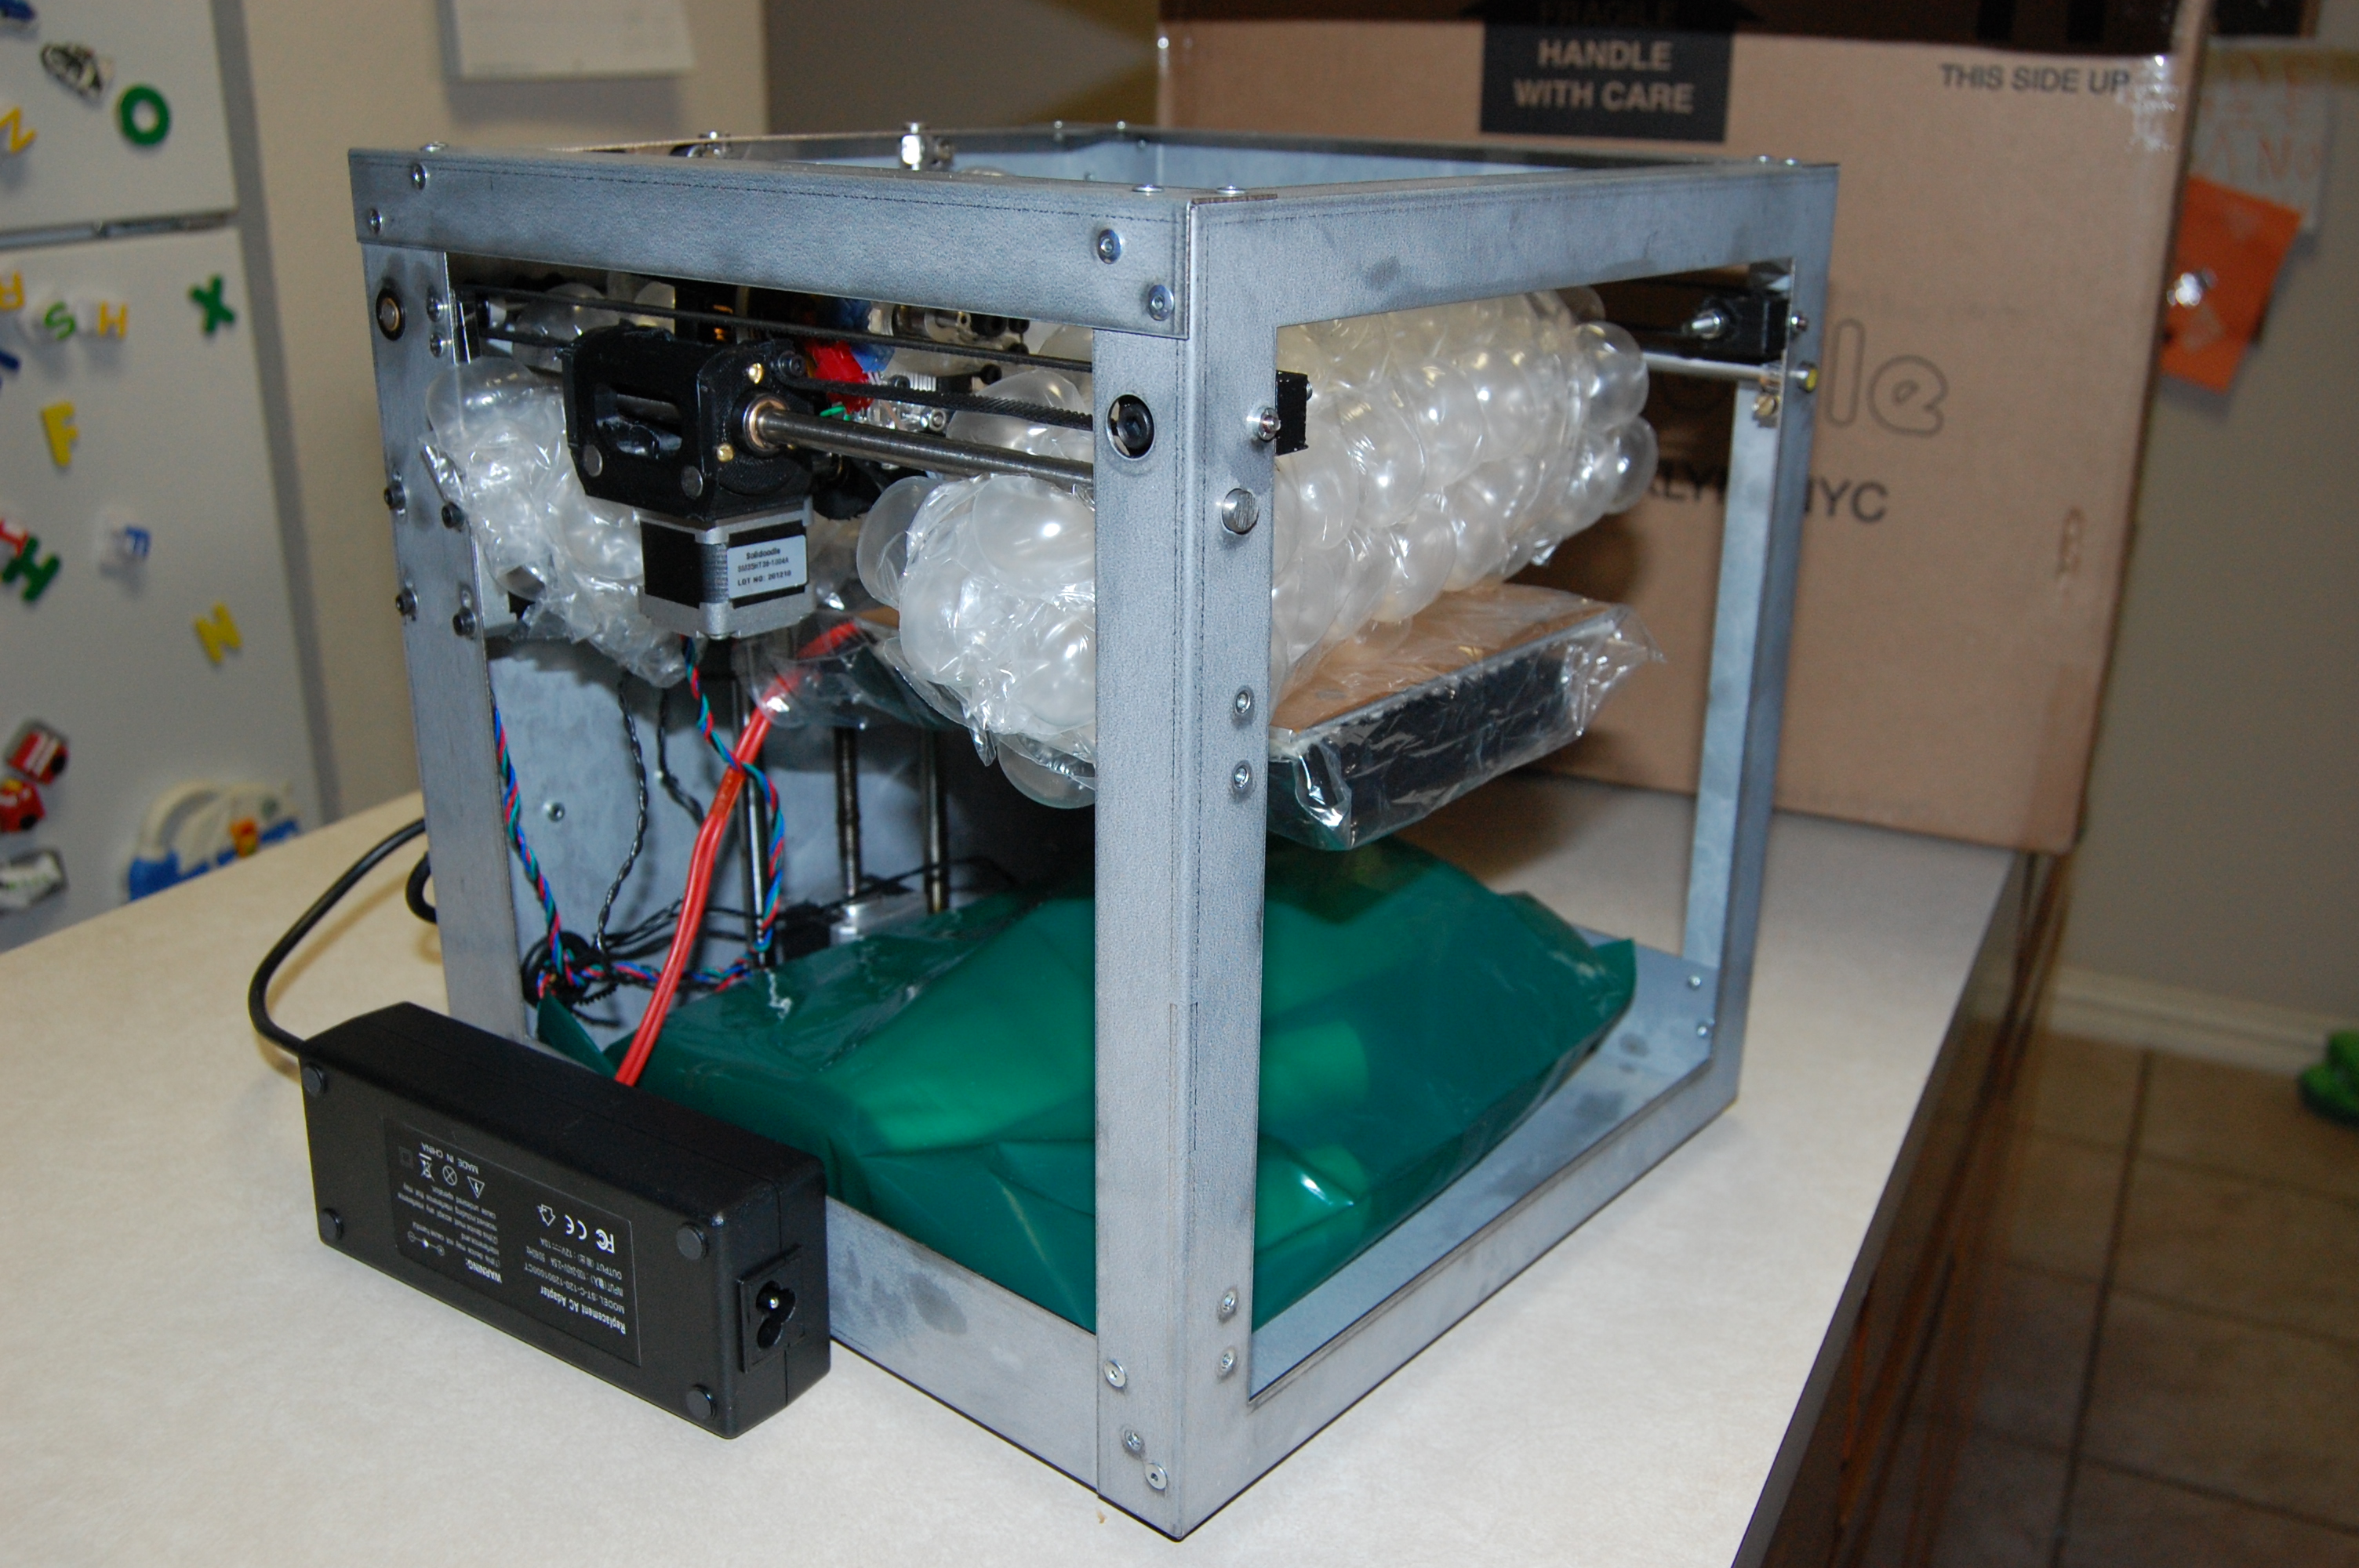
Out of the box, the Solidoodle is packed with bubble wrap protecting the extruder head from excessive motion during shipping. The heated bed platform is wrapped in a plastic baggie. The green bag on the floor of the printer contains the accessories:
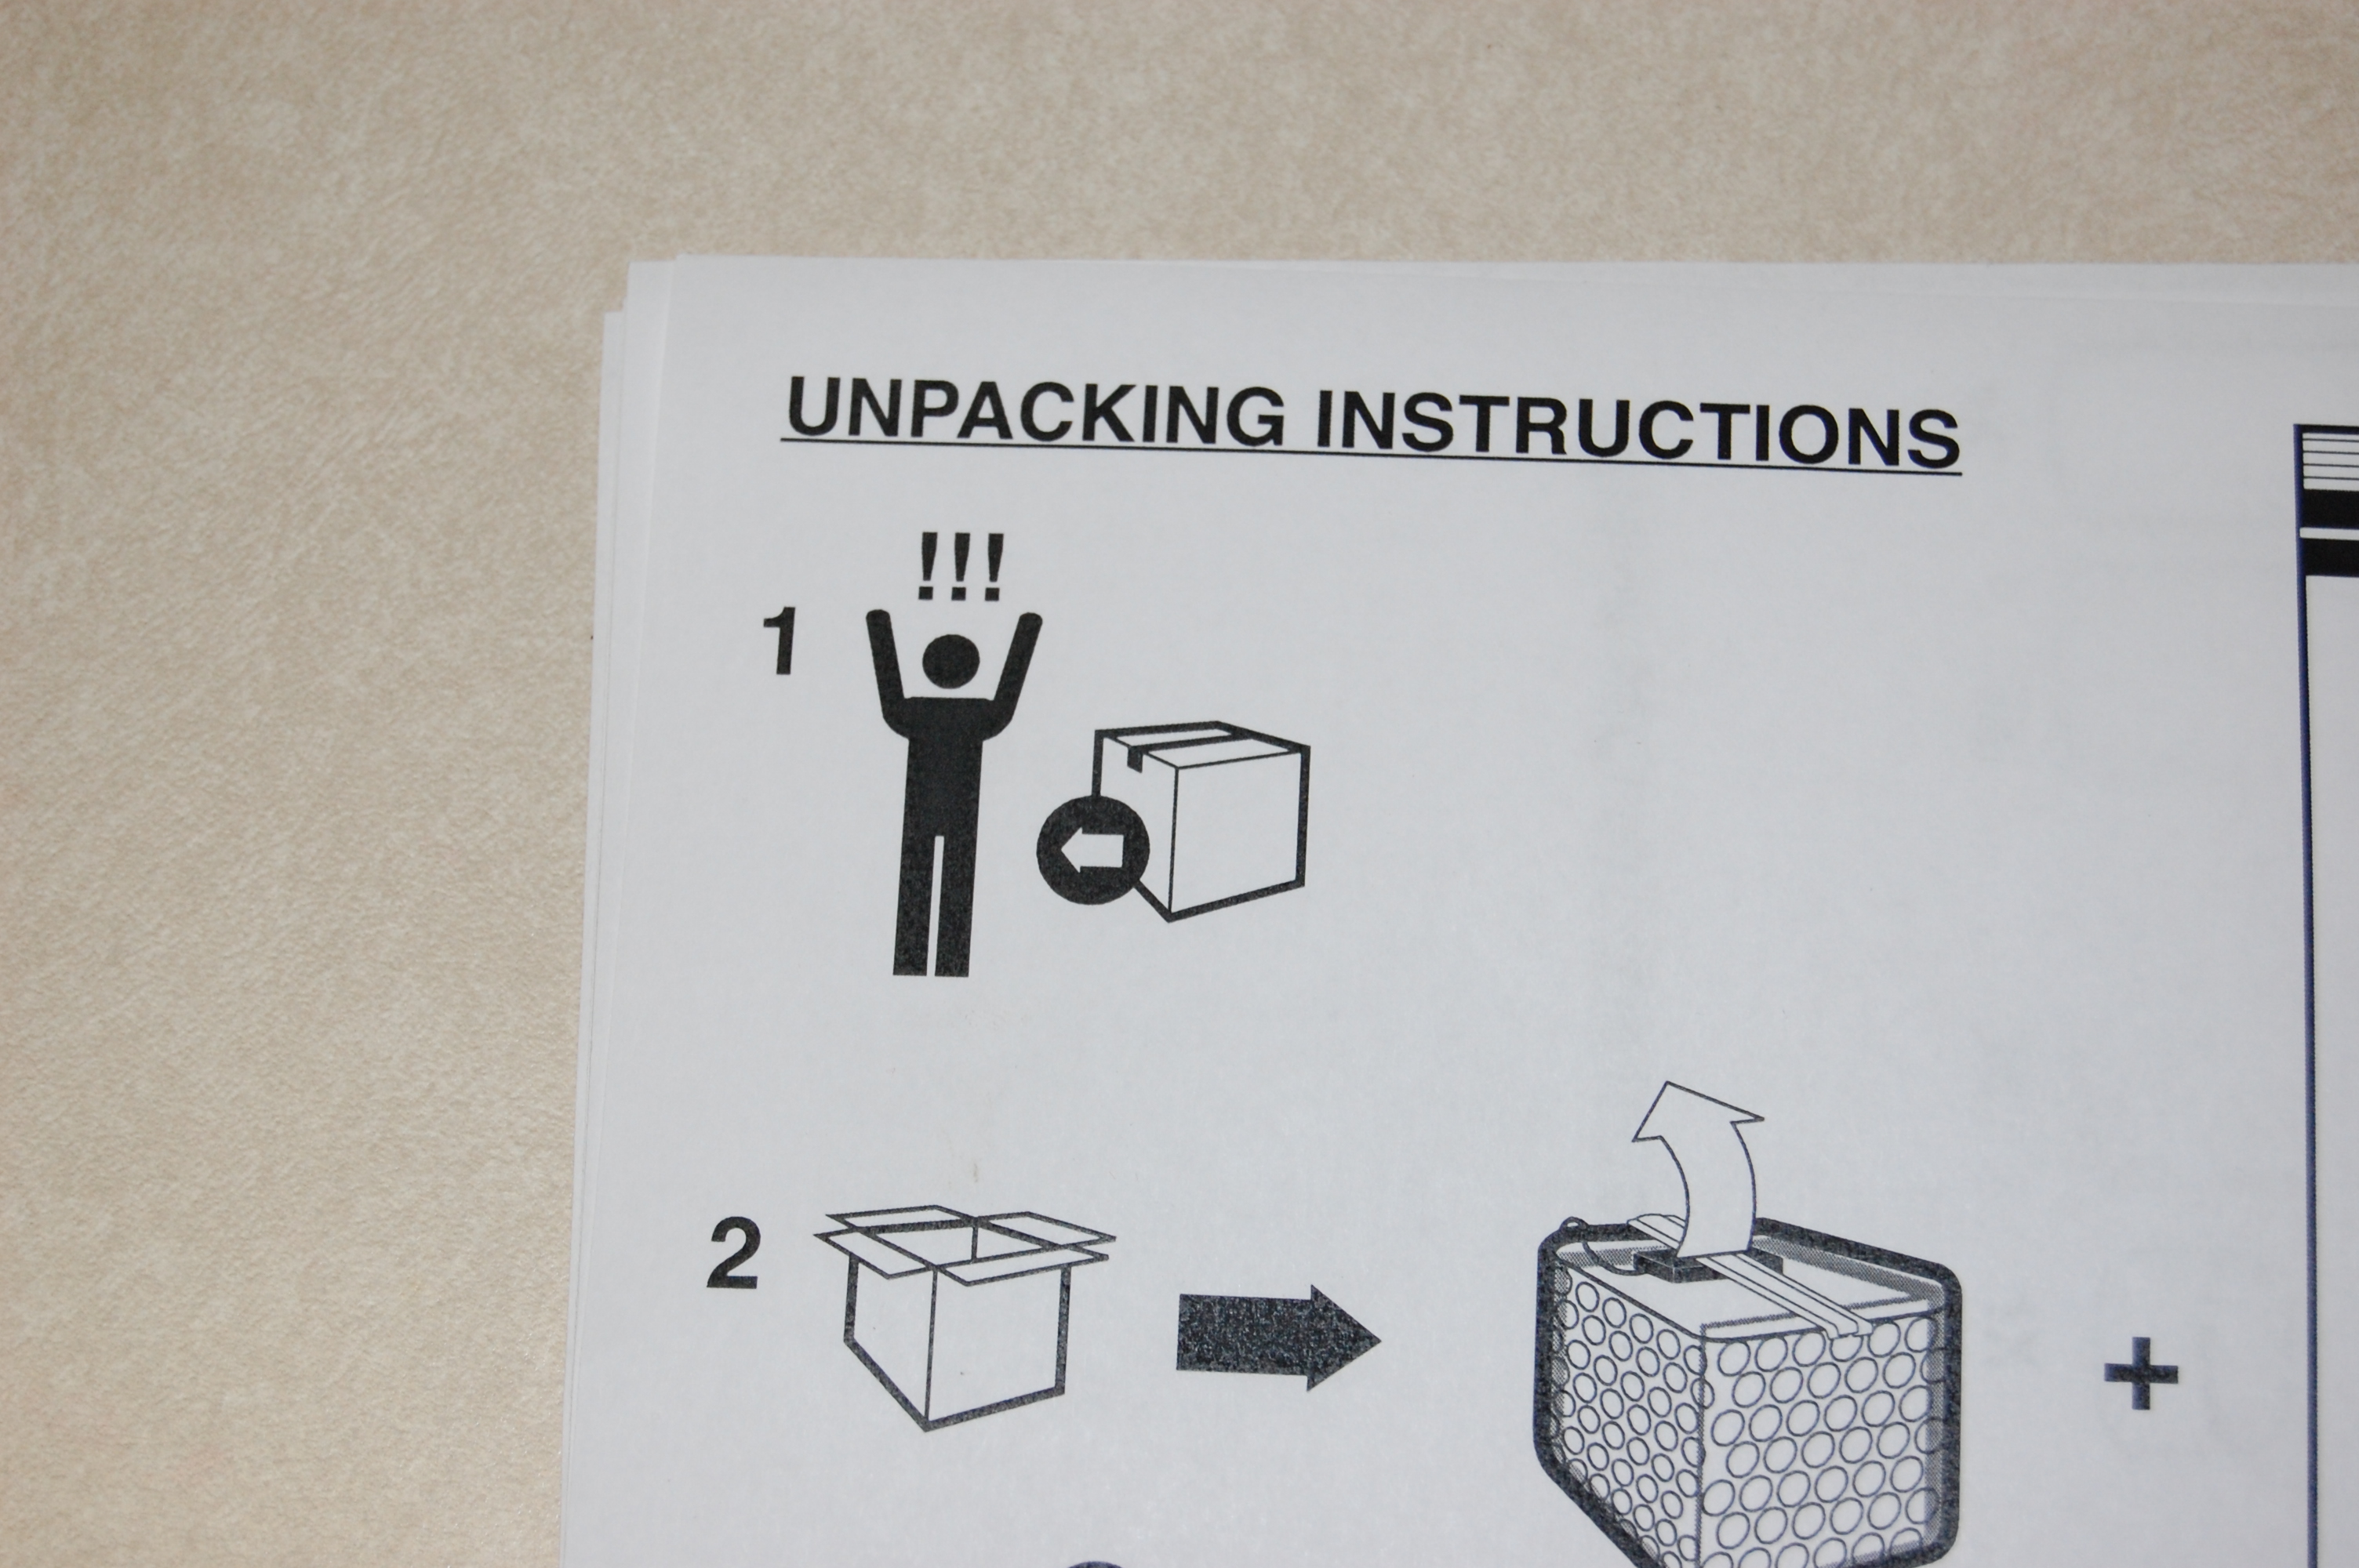
The first step of the 'quick start' guide is accurate:
The Solidoodle is clearly designed to be inexpensive to manufacture, yet is sturdier than you'd expect. Pop rivets hold the chassis together, but there is no slop or play in any of the joints. It is of course possible to rack the chassis with enough force, but for its intended purpose the build quality is satisfactory, and I completely understand the need to make compromises in the design to meet a certain retail price point. The Solidoodle is the least expensive manufactured 3D printer I could find on the market, and I think the Solidoodle team made some wise design decisions to get this product to market. The back of the unit has the controller board, which I understand is an Arduino variant. The controller connects to a host computer via USB and enumerates as a virtual COM port. The board drives the four stepper motors (X, Y, and Z axes and the extruder feeder), controls the two heaters (the bed heater and the extruder heater), and receives input from the limit switches on each of the 3 axes and from the 2 temperature sensors. Lastly, the board provides power to a strip of white LEDs that are stuck to the inside of the top lip of the chassis. This is a nice touch; the lighting showcases the awesome inside the box. The control board is permanently mounted to the printer. Also mounted to the back of the printer is a PVC sleeve for holding the 'spool holder.' A short length of ABS filament is included as well. I didn't measure the filament, but it didn't last very long. (A few meters, perhaps?) Order a spool of filament with your printer!
The controller board's electronics are powered from the host computer's USB cable, but the stepper motors, heaters, and LED strip are powered from the included power brick. I do wish the power brick was detachable; it's currently hardwired to screw terminals on the controller board. A plug and socket would have been nice.
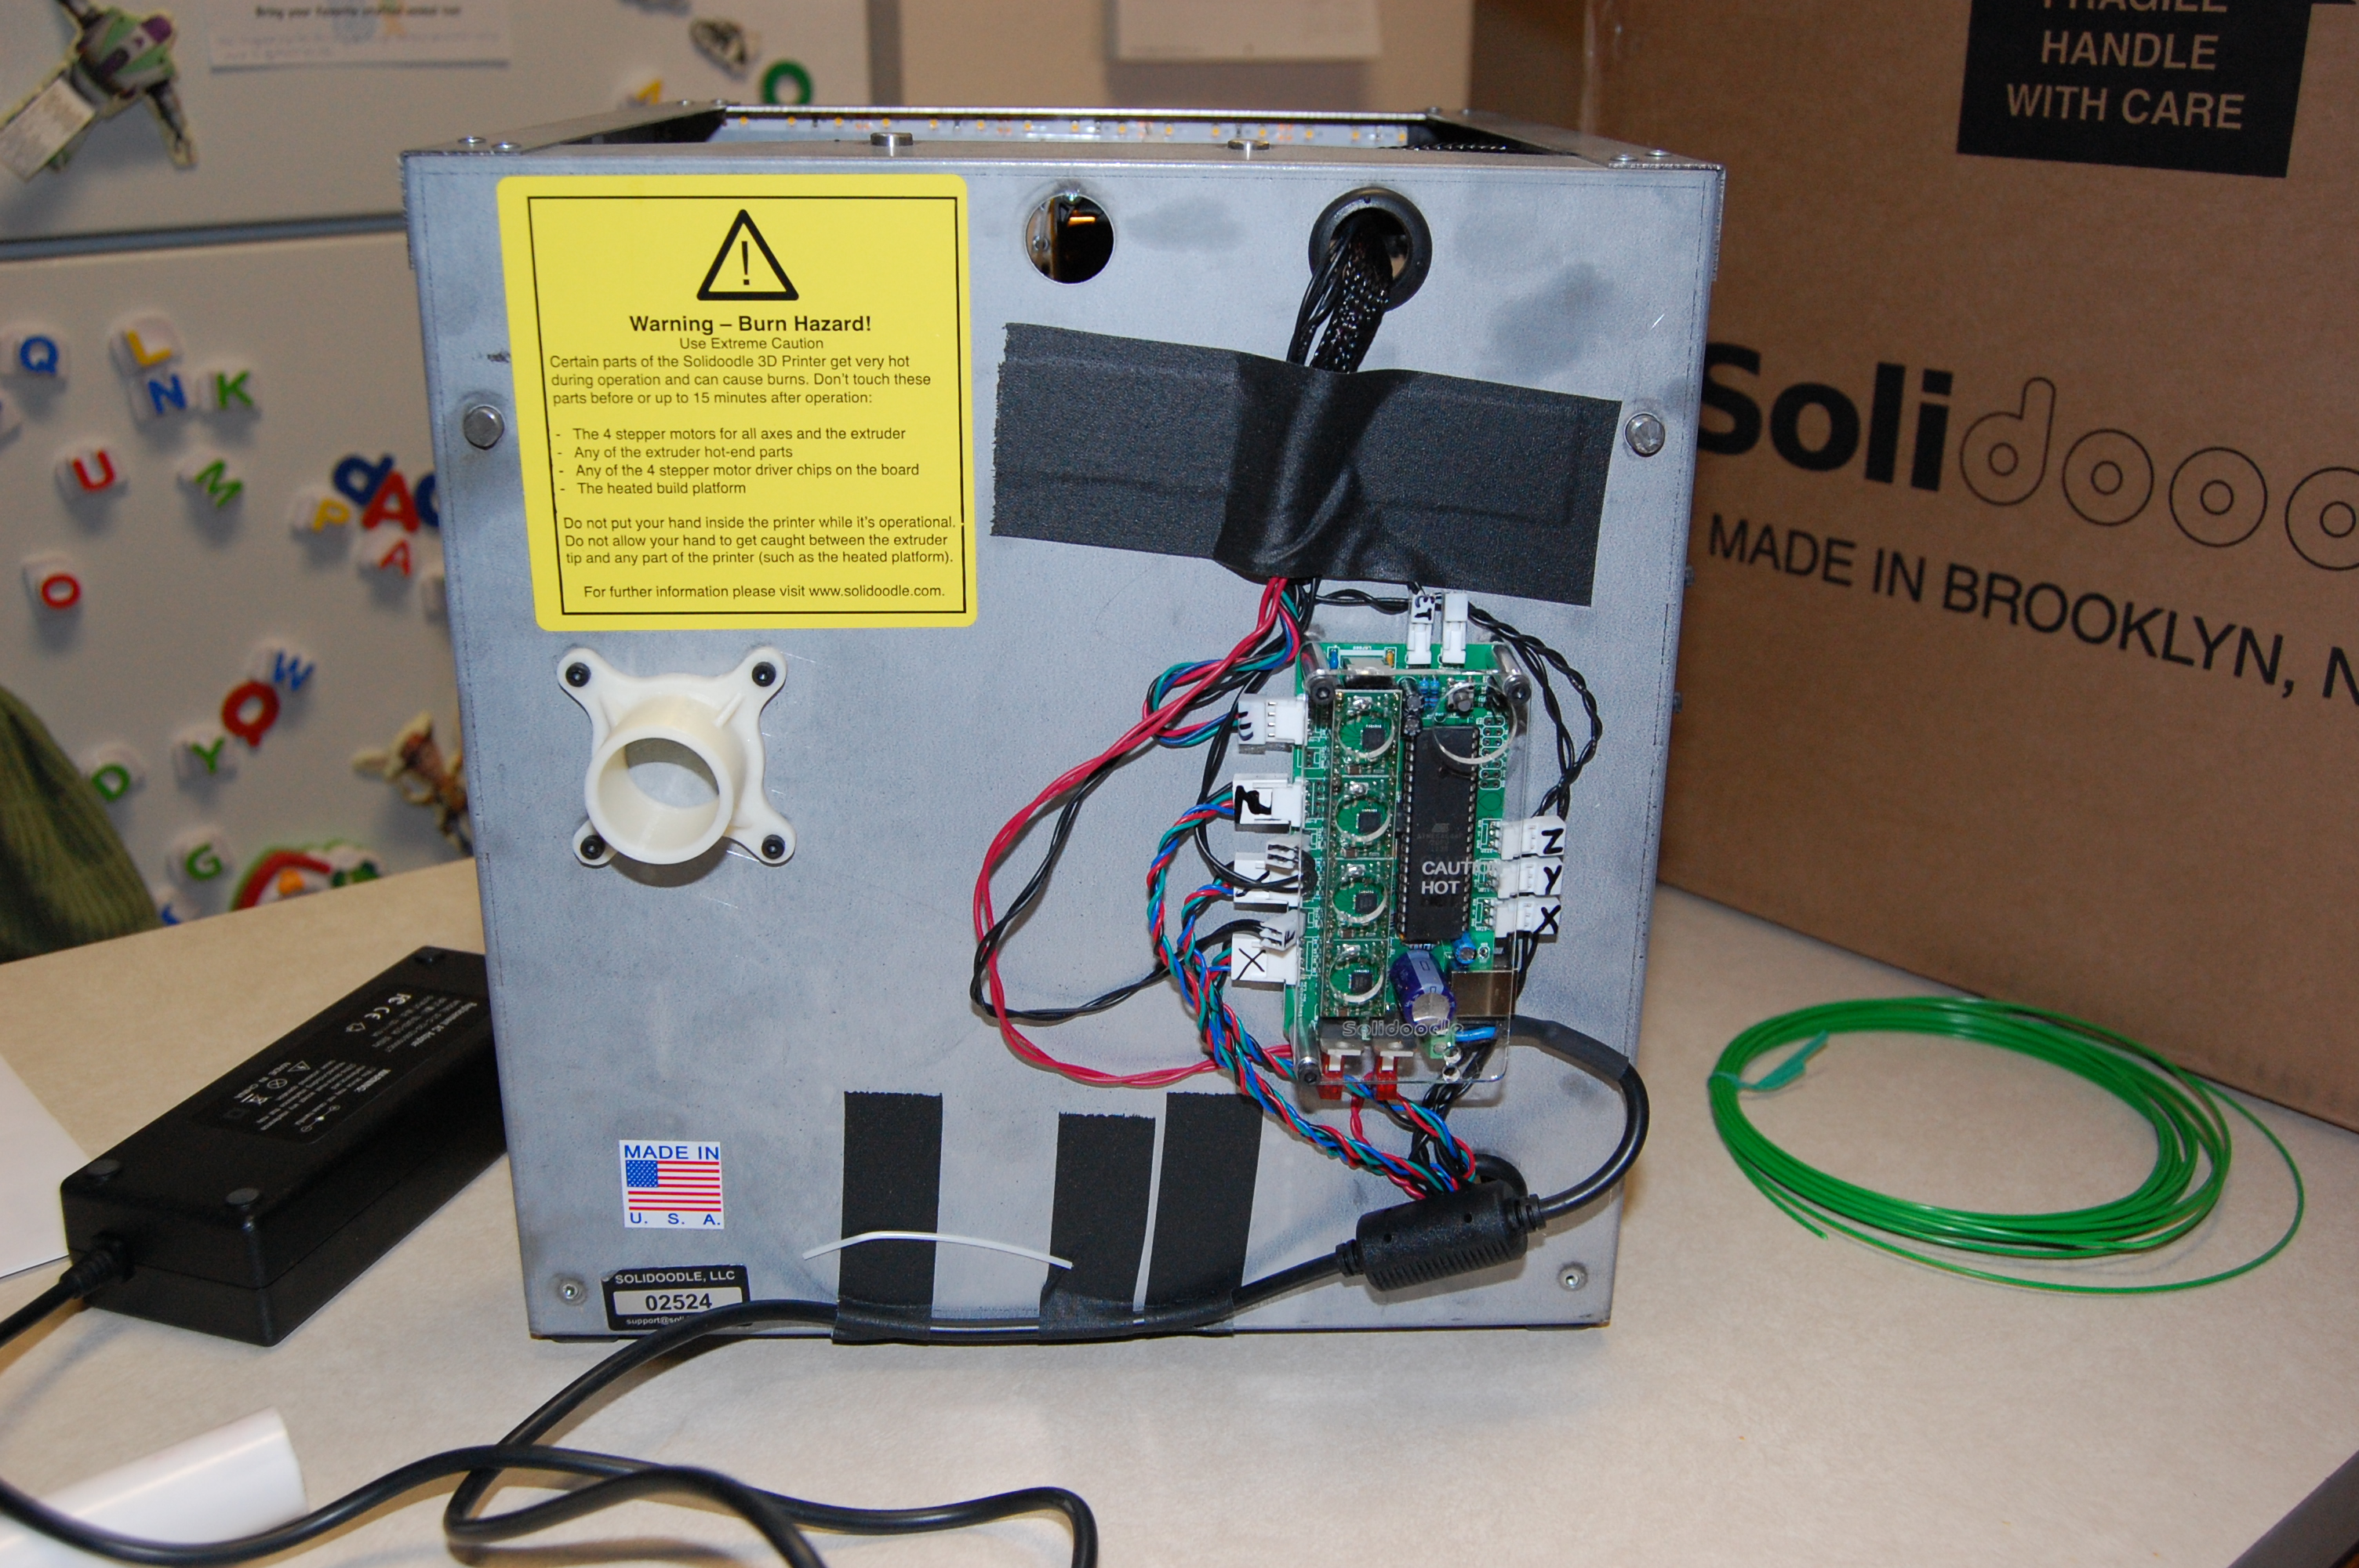
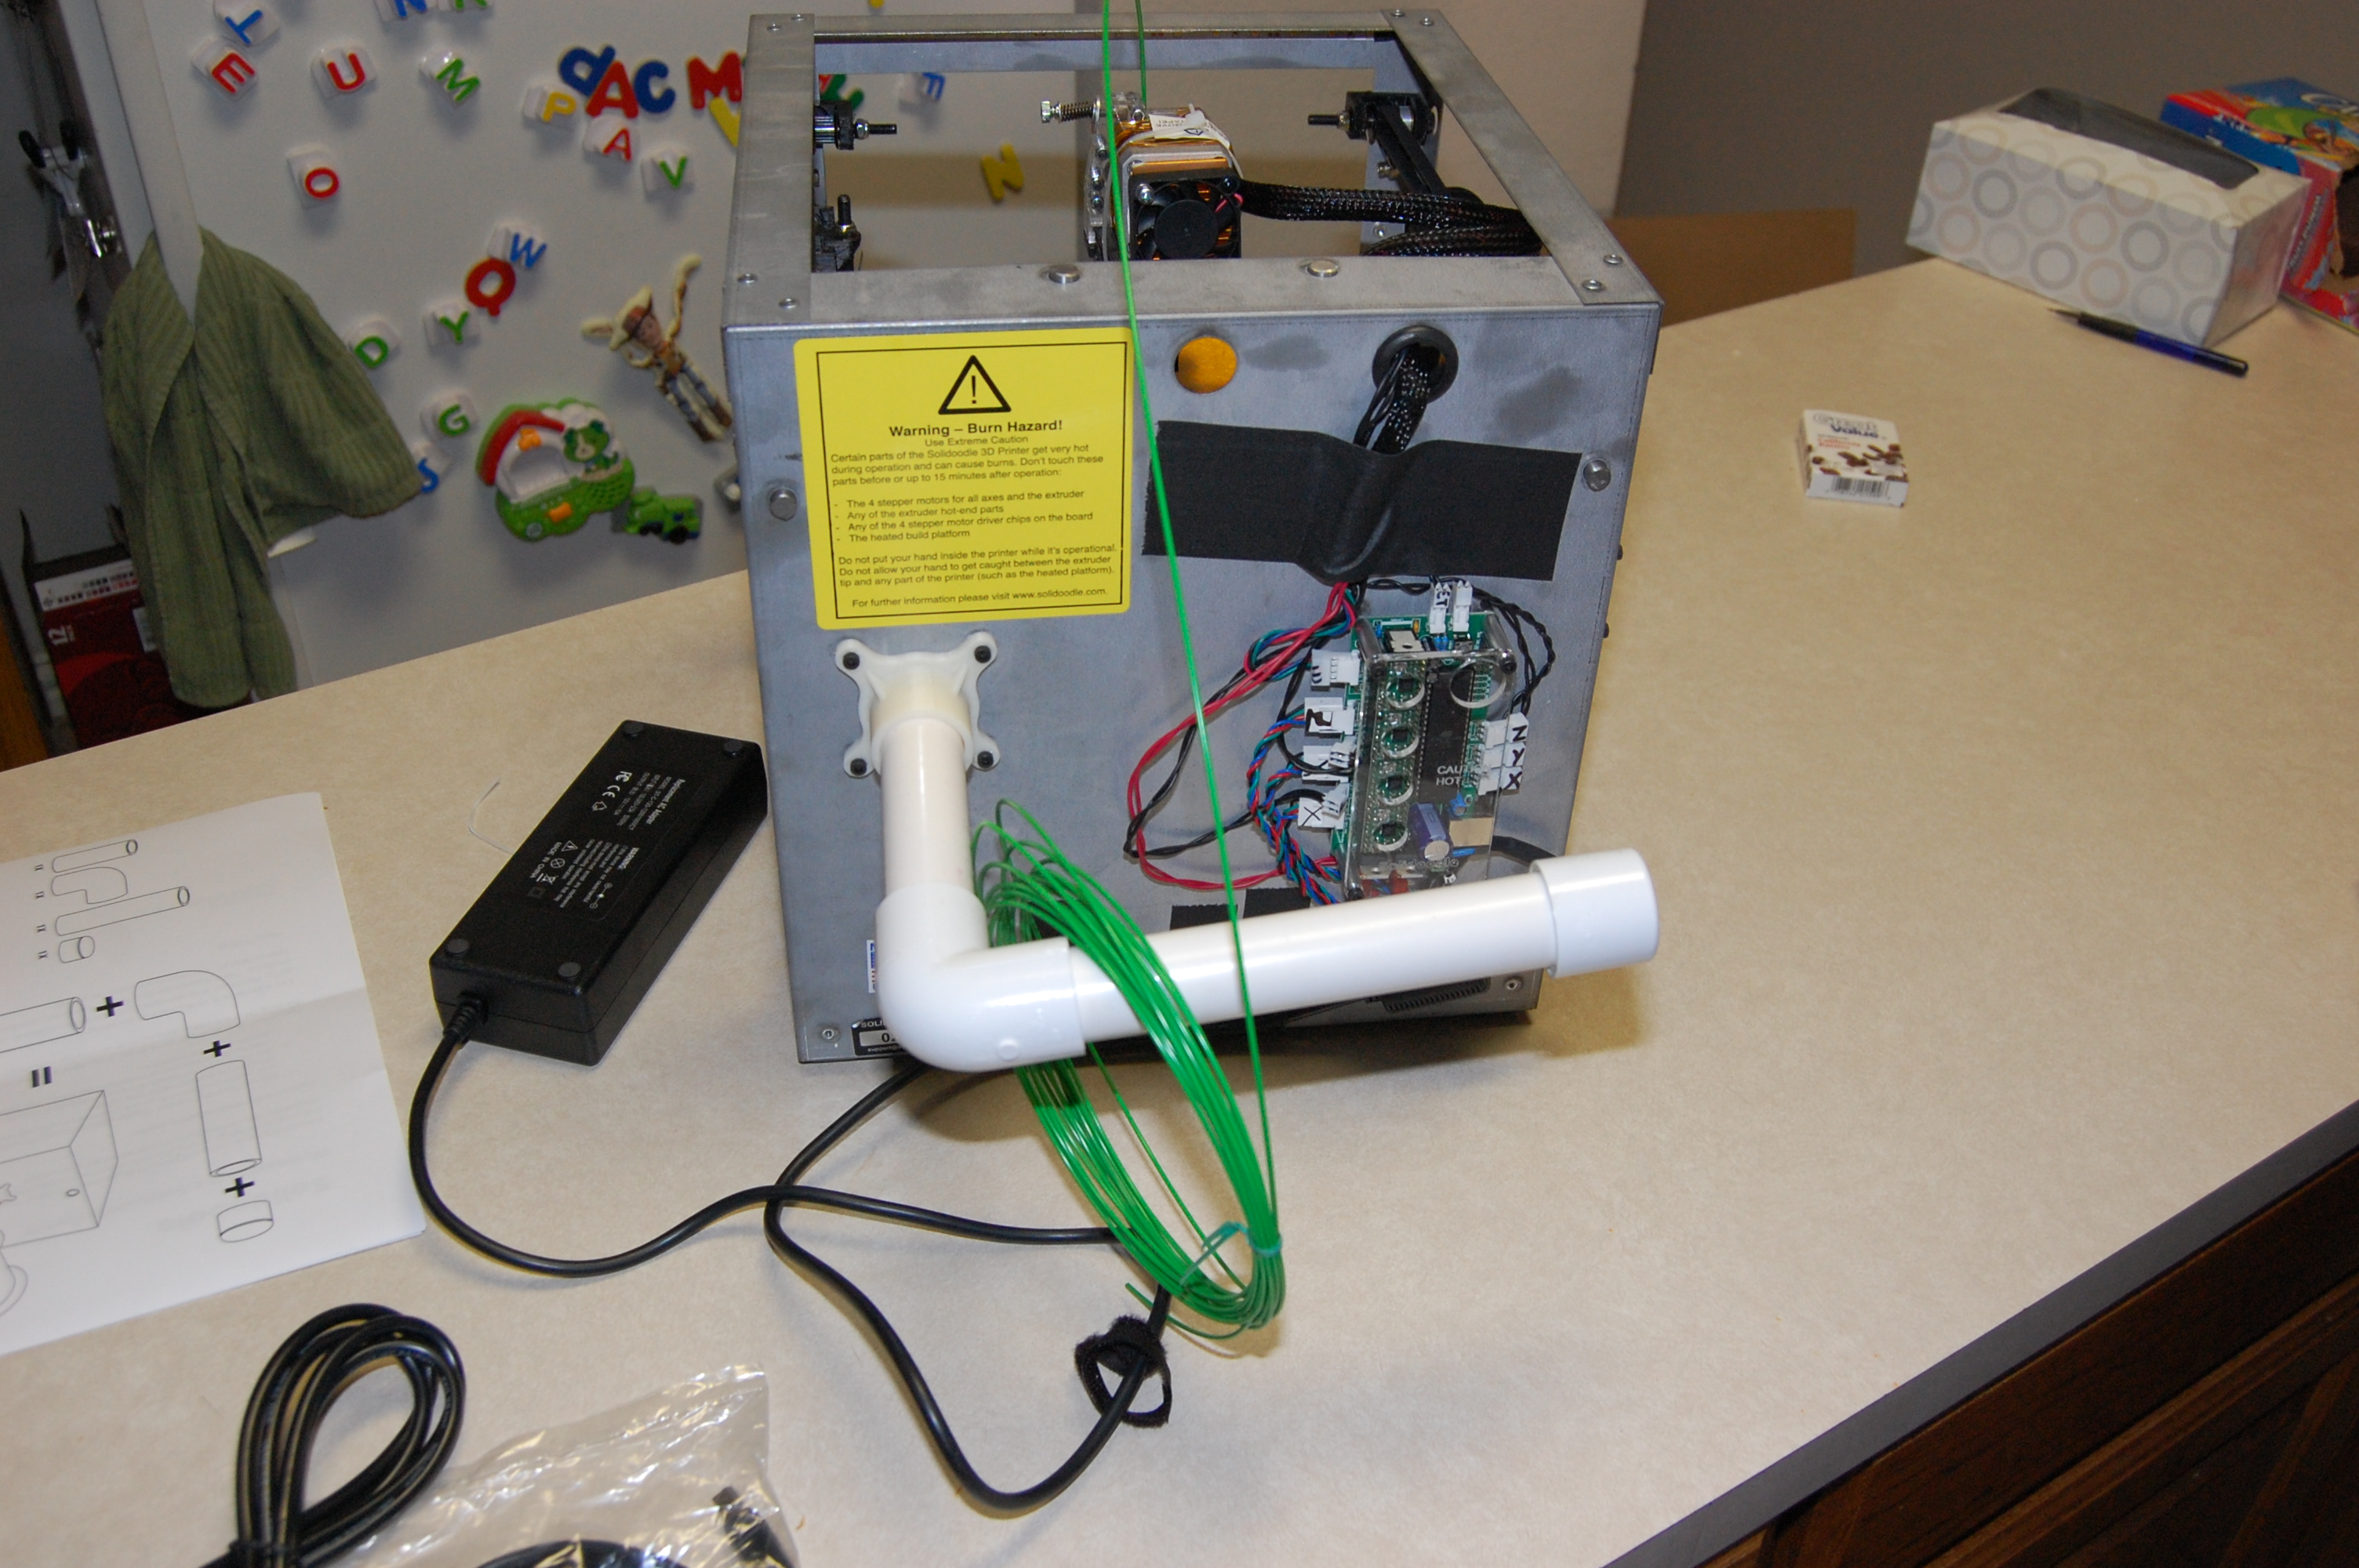
The spool holder is just a couple of sections of PVC pipe. I don't see how that'll hold a 1kg spool of PVC without falling apart. I suppose that some PVC cement could make the holder more sturdy, but I'd be reluctant to permanently cement the holder to the chassis; the holder does add significant depth to the chassis and would make the printer substantially less portable if it were permanently installed.
The Solidoodle comes with minimal documentation. I received an invoice, a welcome letter that points the user to the "How To" section of the Solidoodle website, an "Unpacking Instructions" quick-start guide full of icons, a similar sheet of icons showing how to build the spool holder, and a packing list. There's nothing resembling a user manual here, and even the how-to section of the Solidoodle website leaves a lot to be desired. This printer is definitely targeted to the hacker/maker/tinkerer community. It's not ready for mass market as a consumer item.
The how-to section of the Solidoodle website leads the user through installing software to drive the printer. The software package includes skeinforge, which is a program that takes .stl models and generates G-code that the printer can understand, and Pronterface, which is a crude control panel for the printer. Both of these pieces of software are... well, lacking. If you go into this expecting the Solidoodle to be a tinkerer's toy rather than a ready-to-print out-of-the-box experience, the software is marginally acceptable. (Read on to learn about software choices.)
After installing the software, I went to thingiverse to find a 3D model to print. I downloaded the .stl file for the @ Keychain, thing 32542. Since I was (and still am) completely clueless about the myriad of software settings available, I simply let skeinforge create toolpaths with the default settings, loaded the G-Code into Pronterface, preheated the bed and extruder, and started printing.
The good news is that I was printing a 3D object within 30 minutes of opening the box.
The bad news is that I had problems.
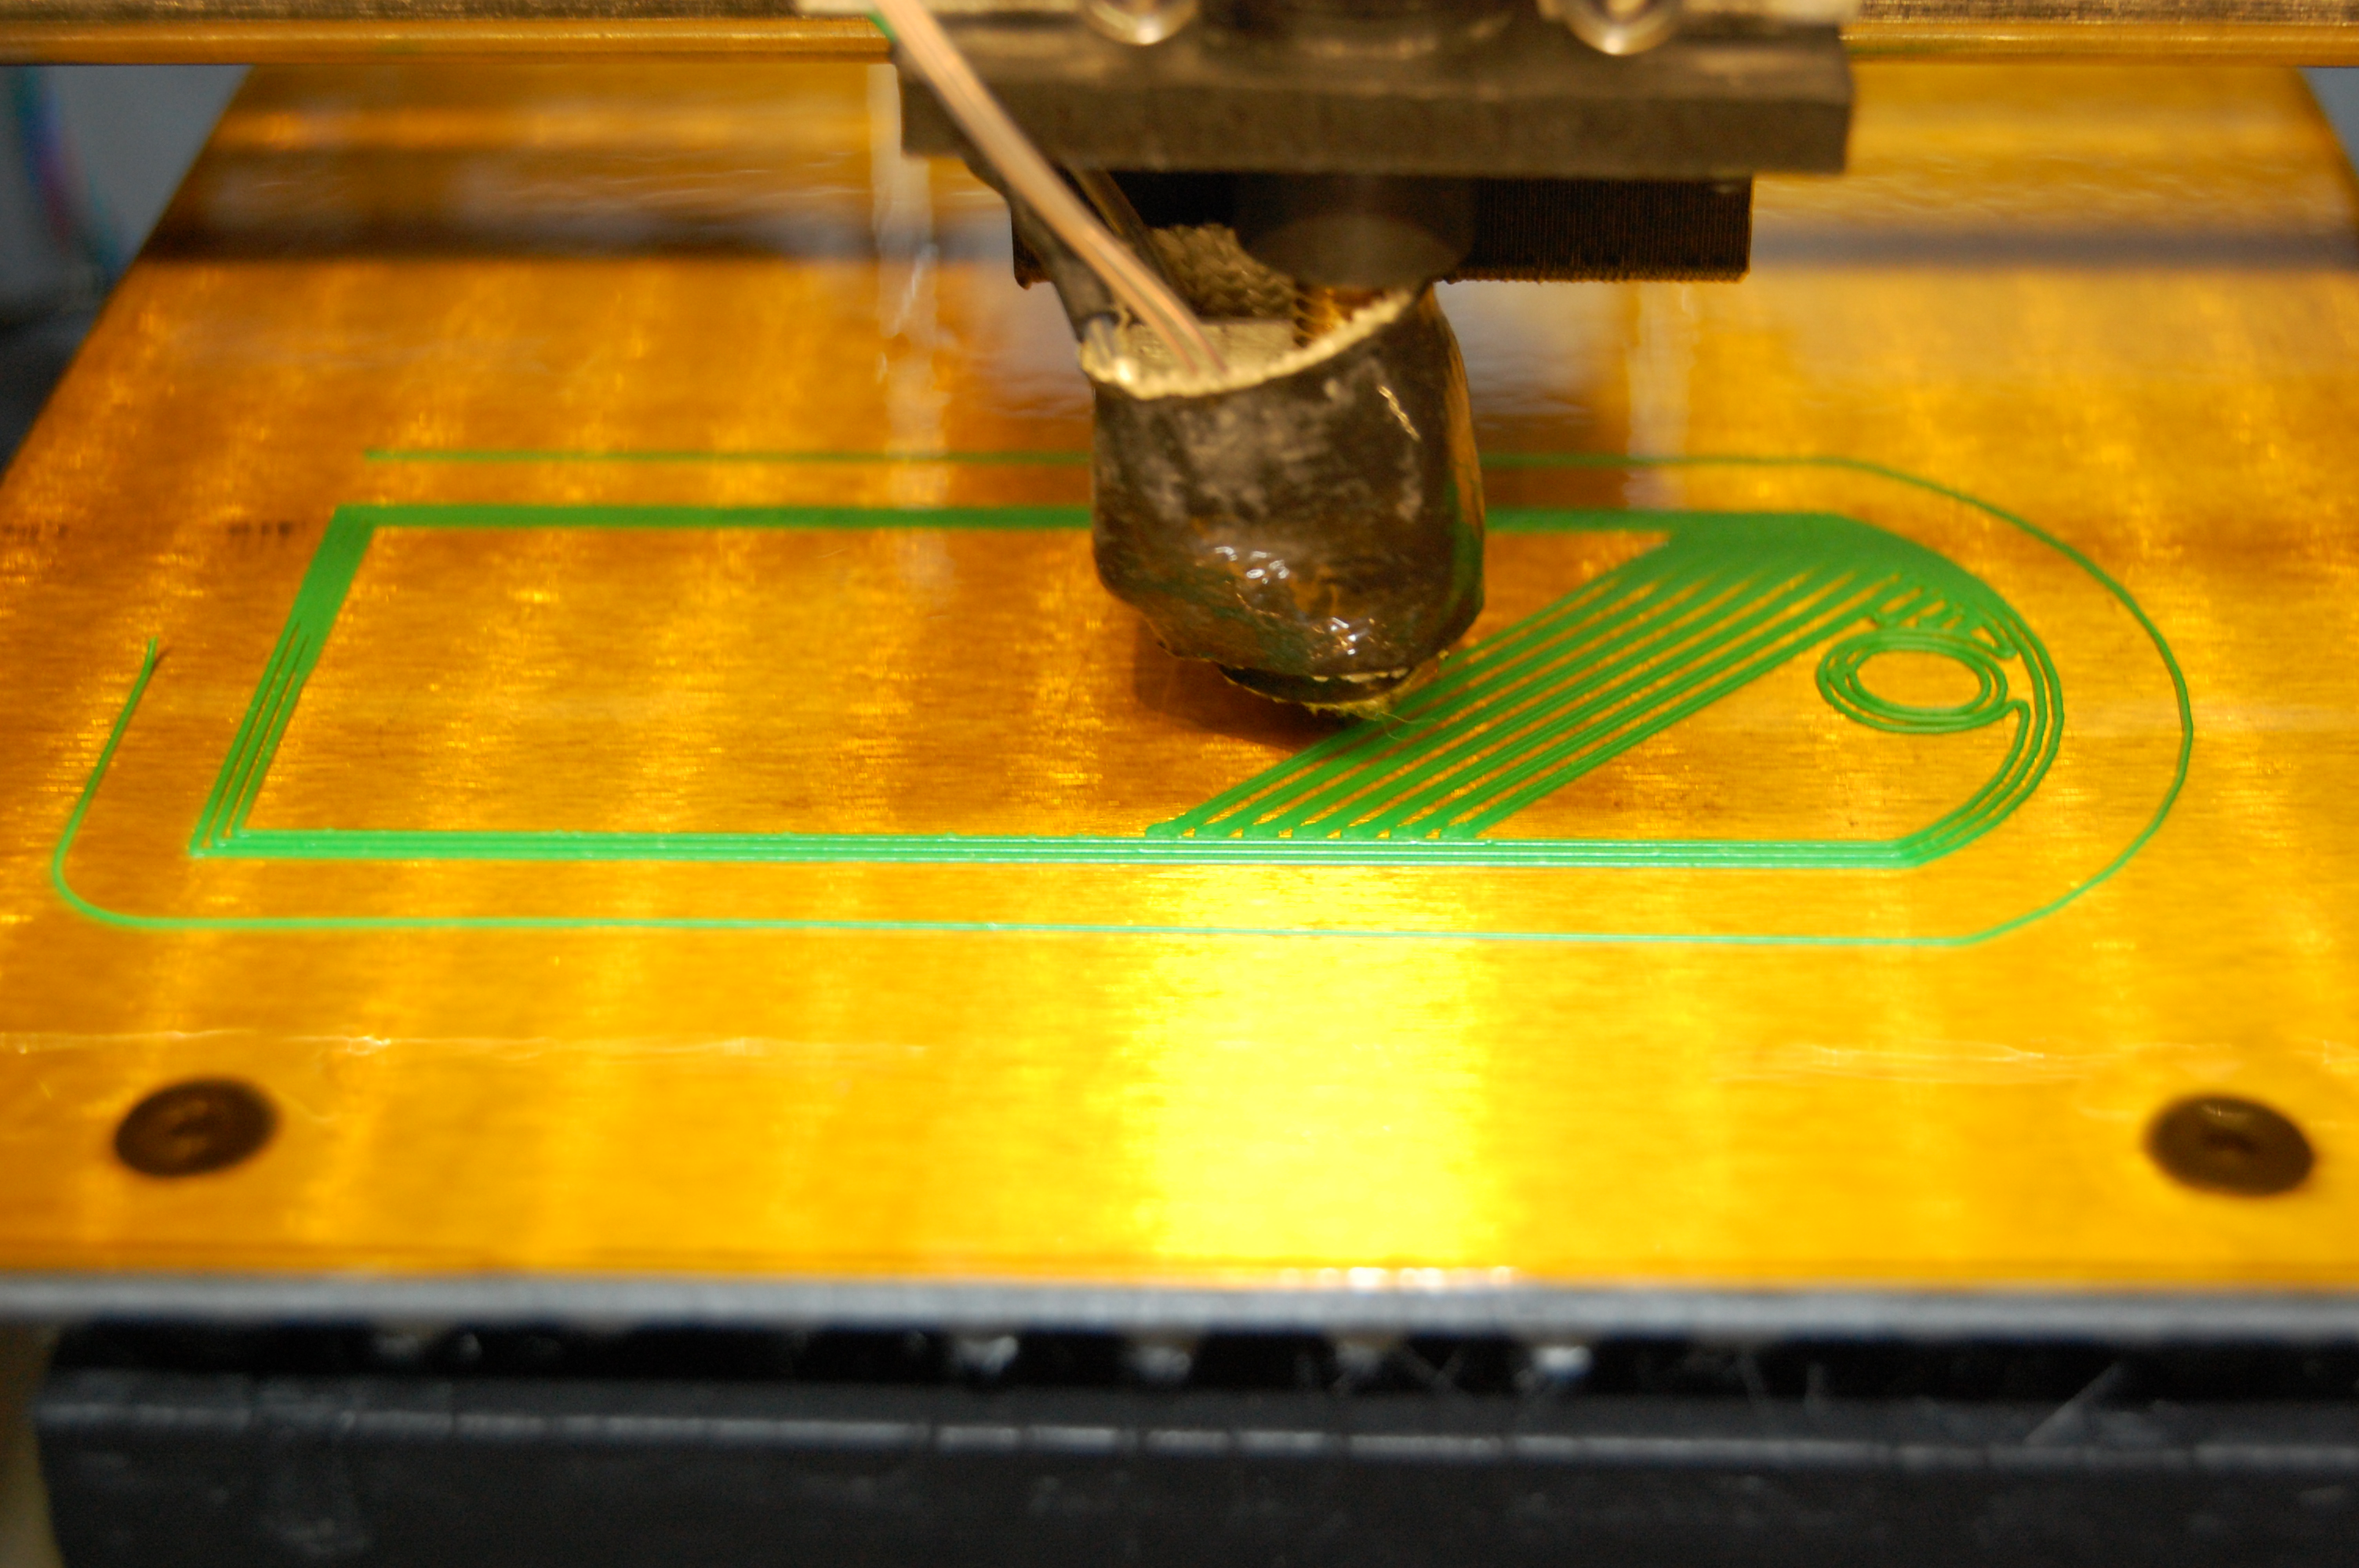
Skeinforge created a 'raft' as the first layer of the object. This raft is designed to help the part stick to the bed of the printer. Then the printer started printing the first layer of the object. Unfortunately, the printer didn't get very far into the first layer of the object before the extruder head pulled the part off the bed and dragged the whole part around with the printhead. I hit the abort button.
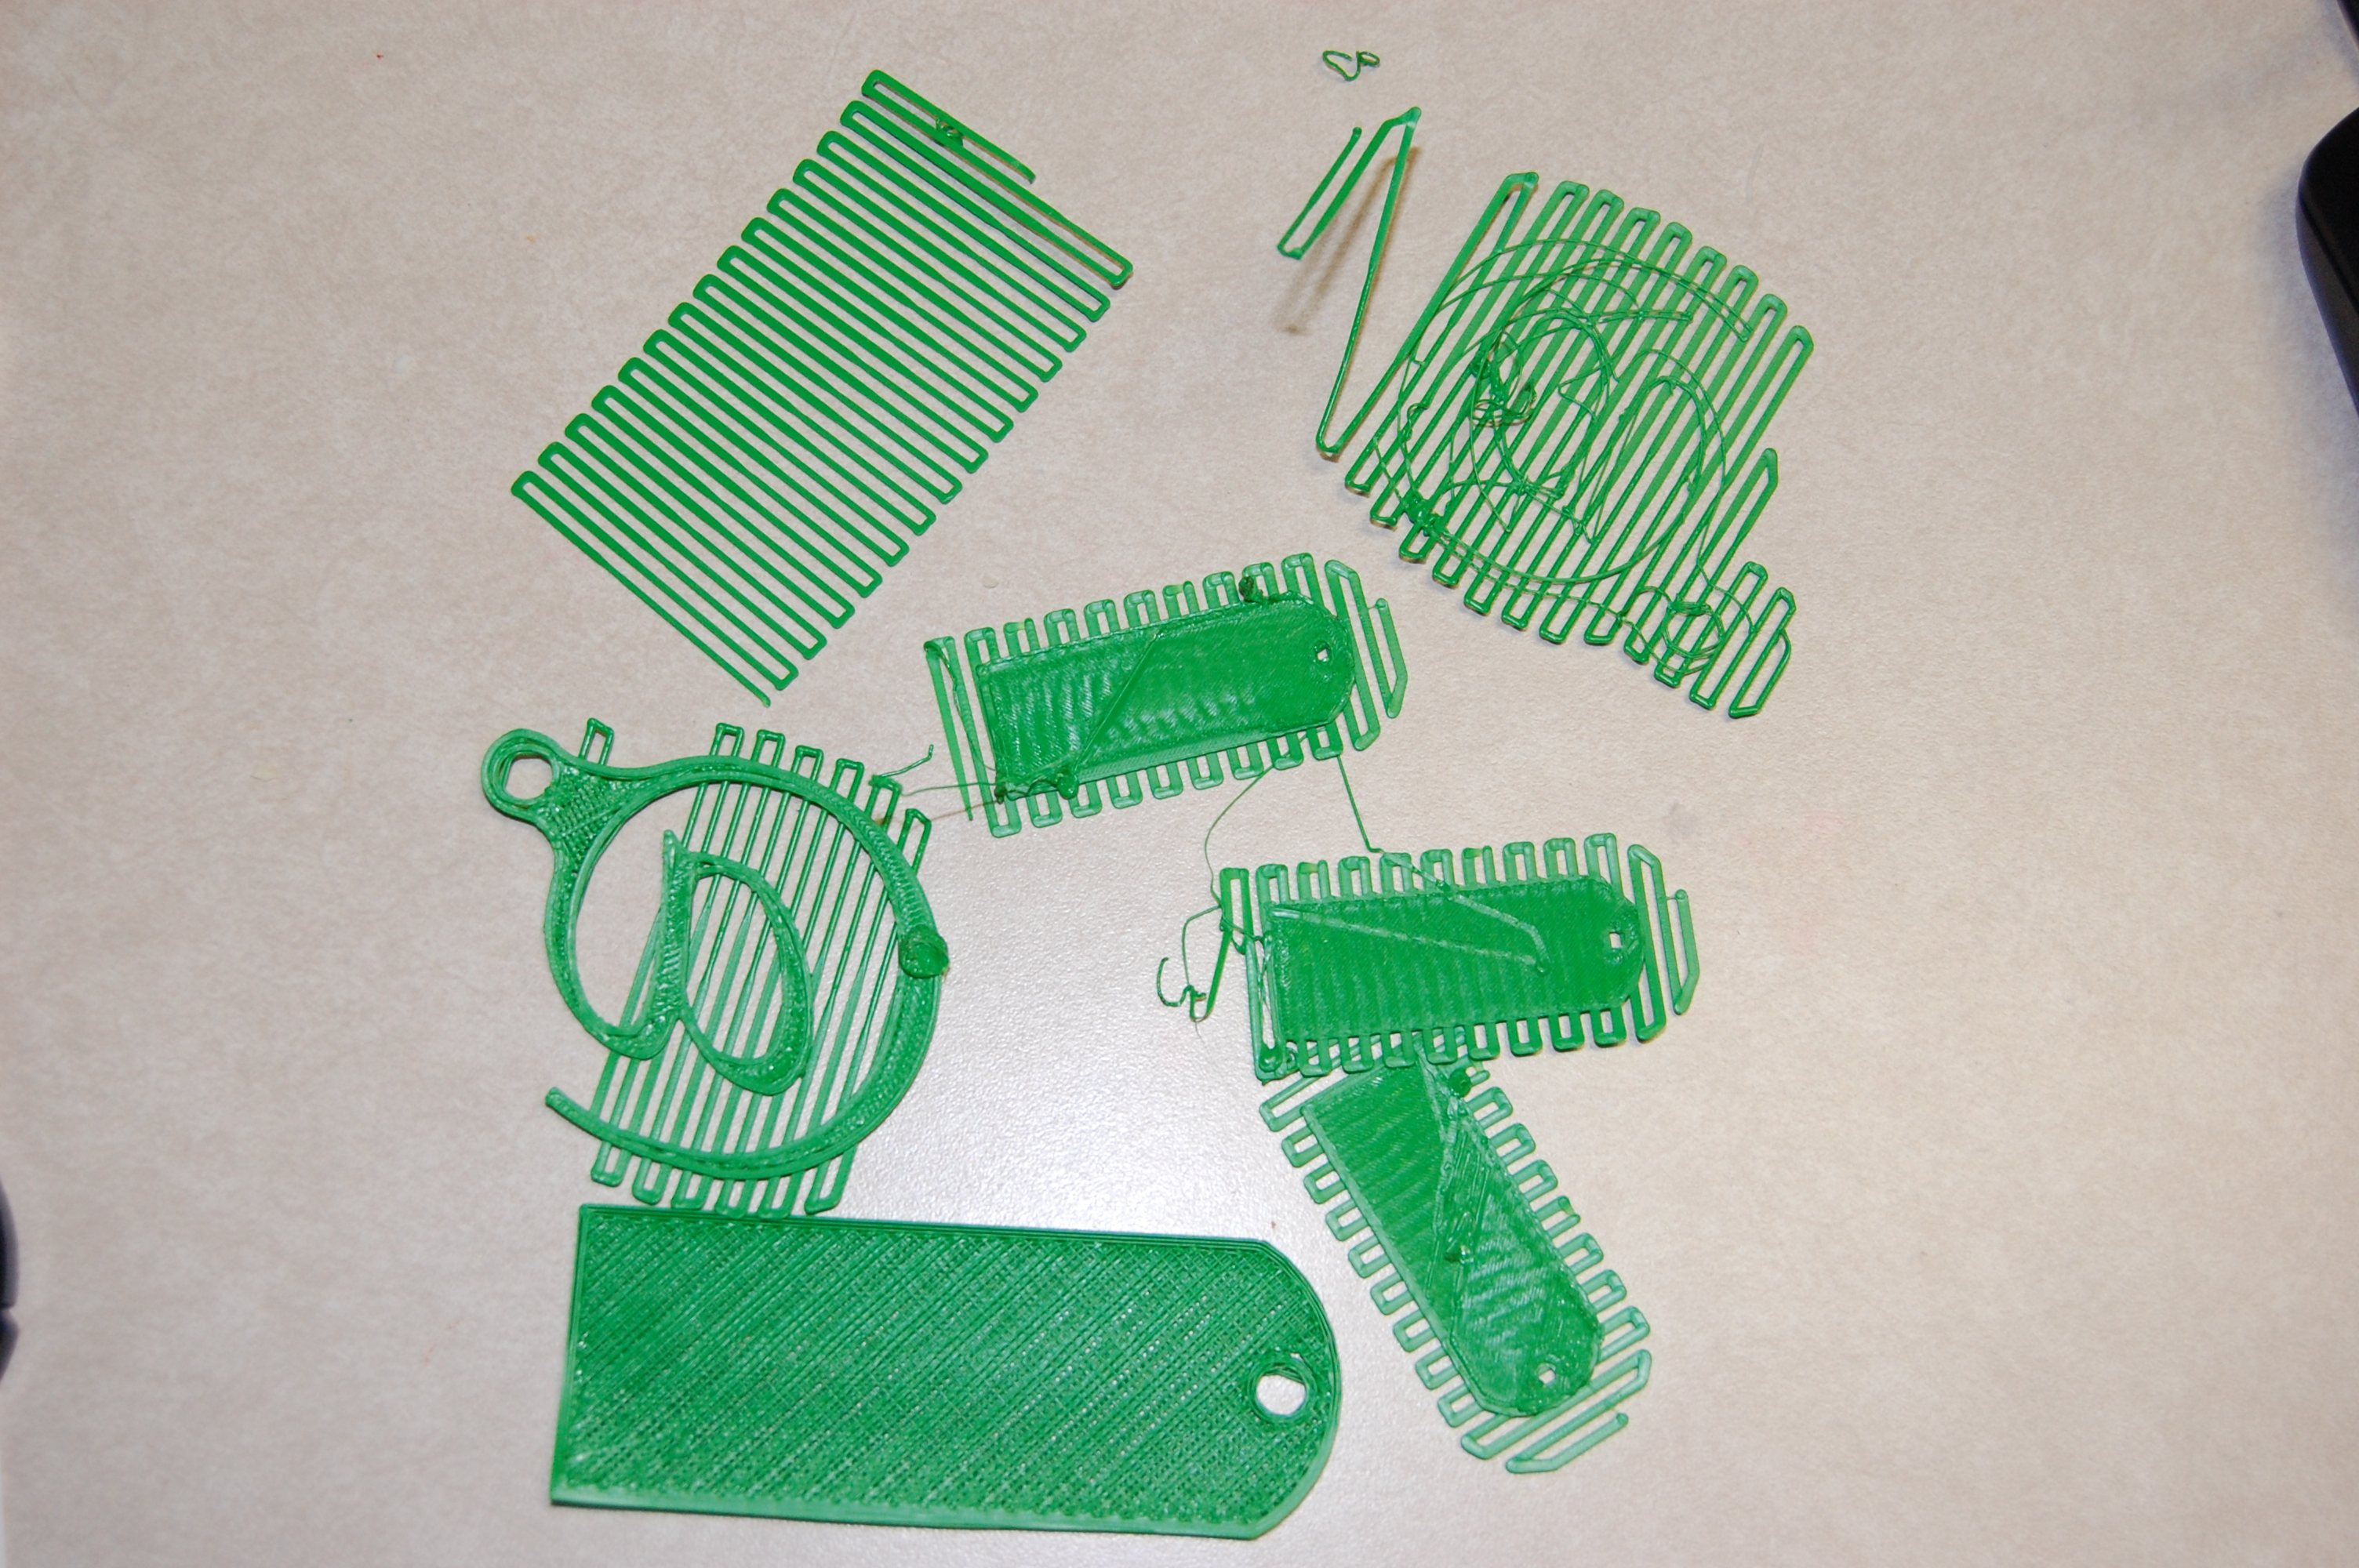
After a little consultation with my father-in-law (who had delivered the printer and was having as much fun with this as I was) we decided to increase the bed temperature by 5 degrees, from 80C to 85C, and try again. We had similar results. Here's what we ended up with, after we peeled some of the raft away from one of the parts:
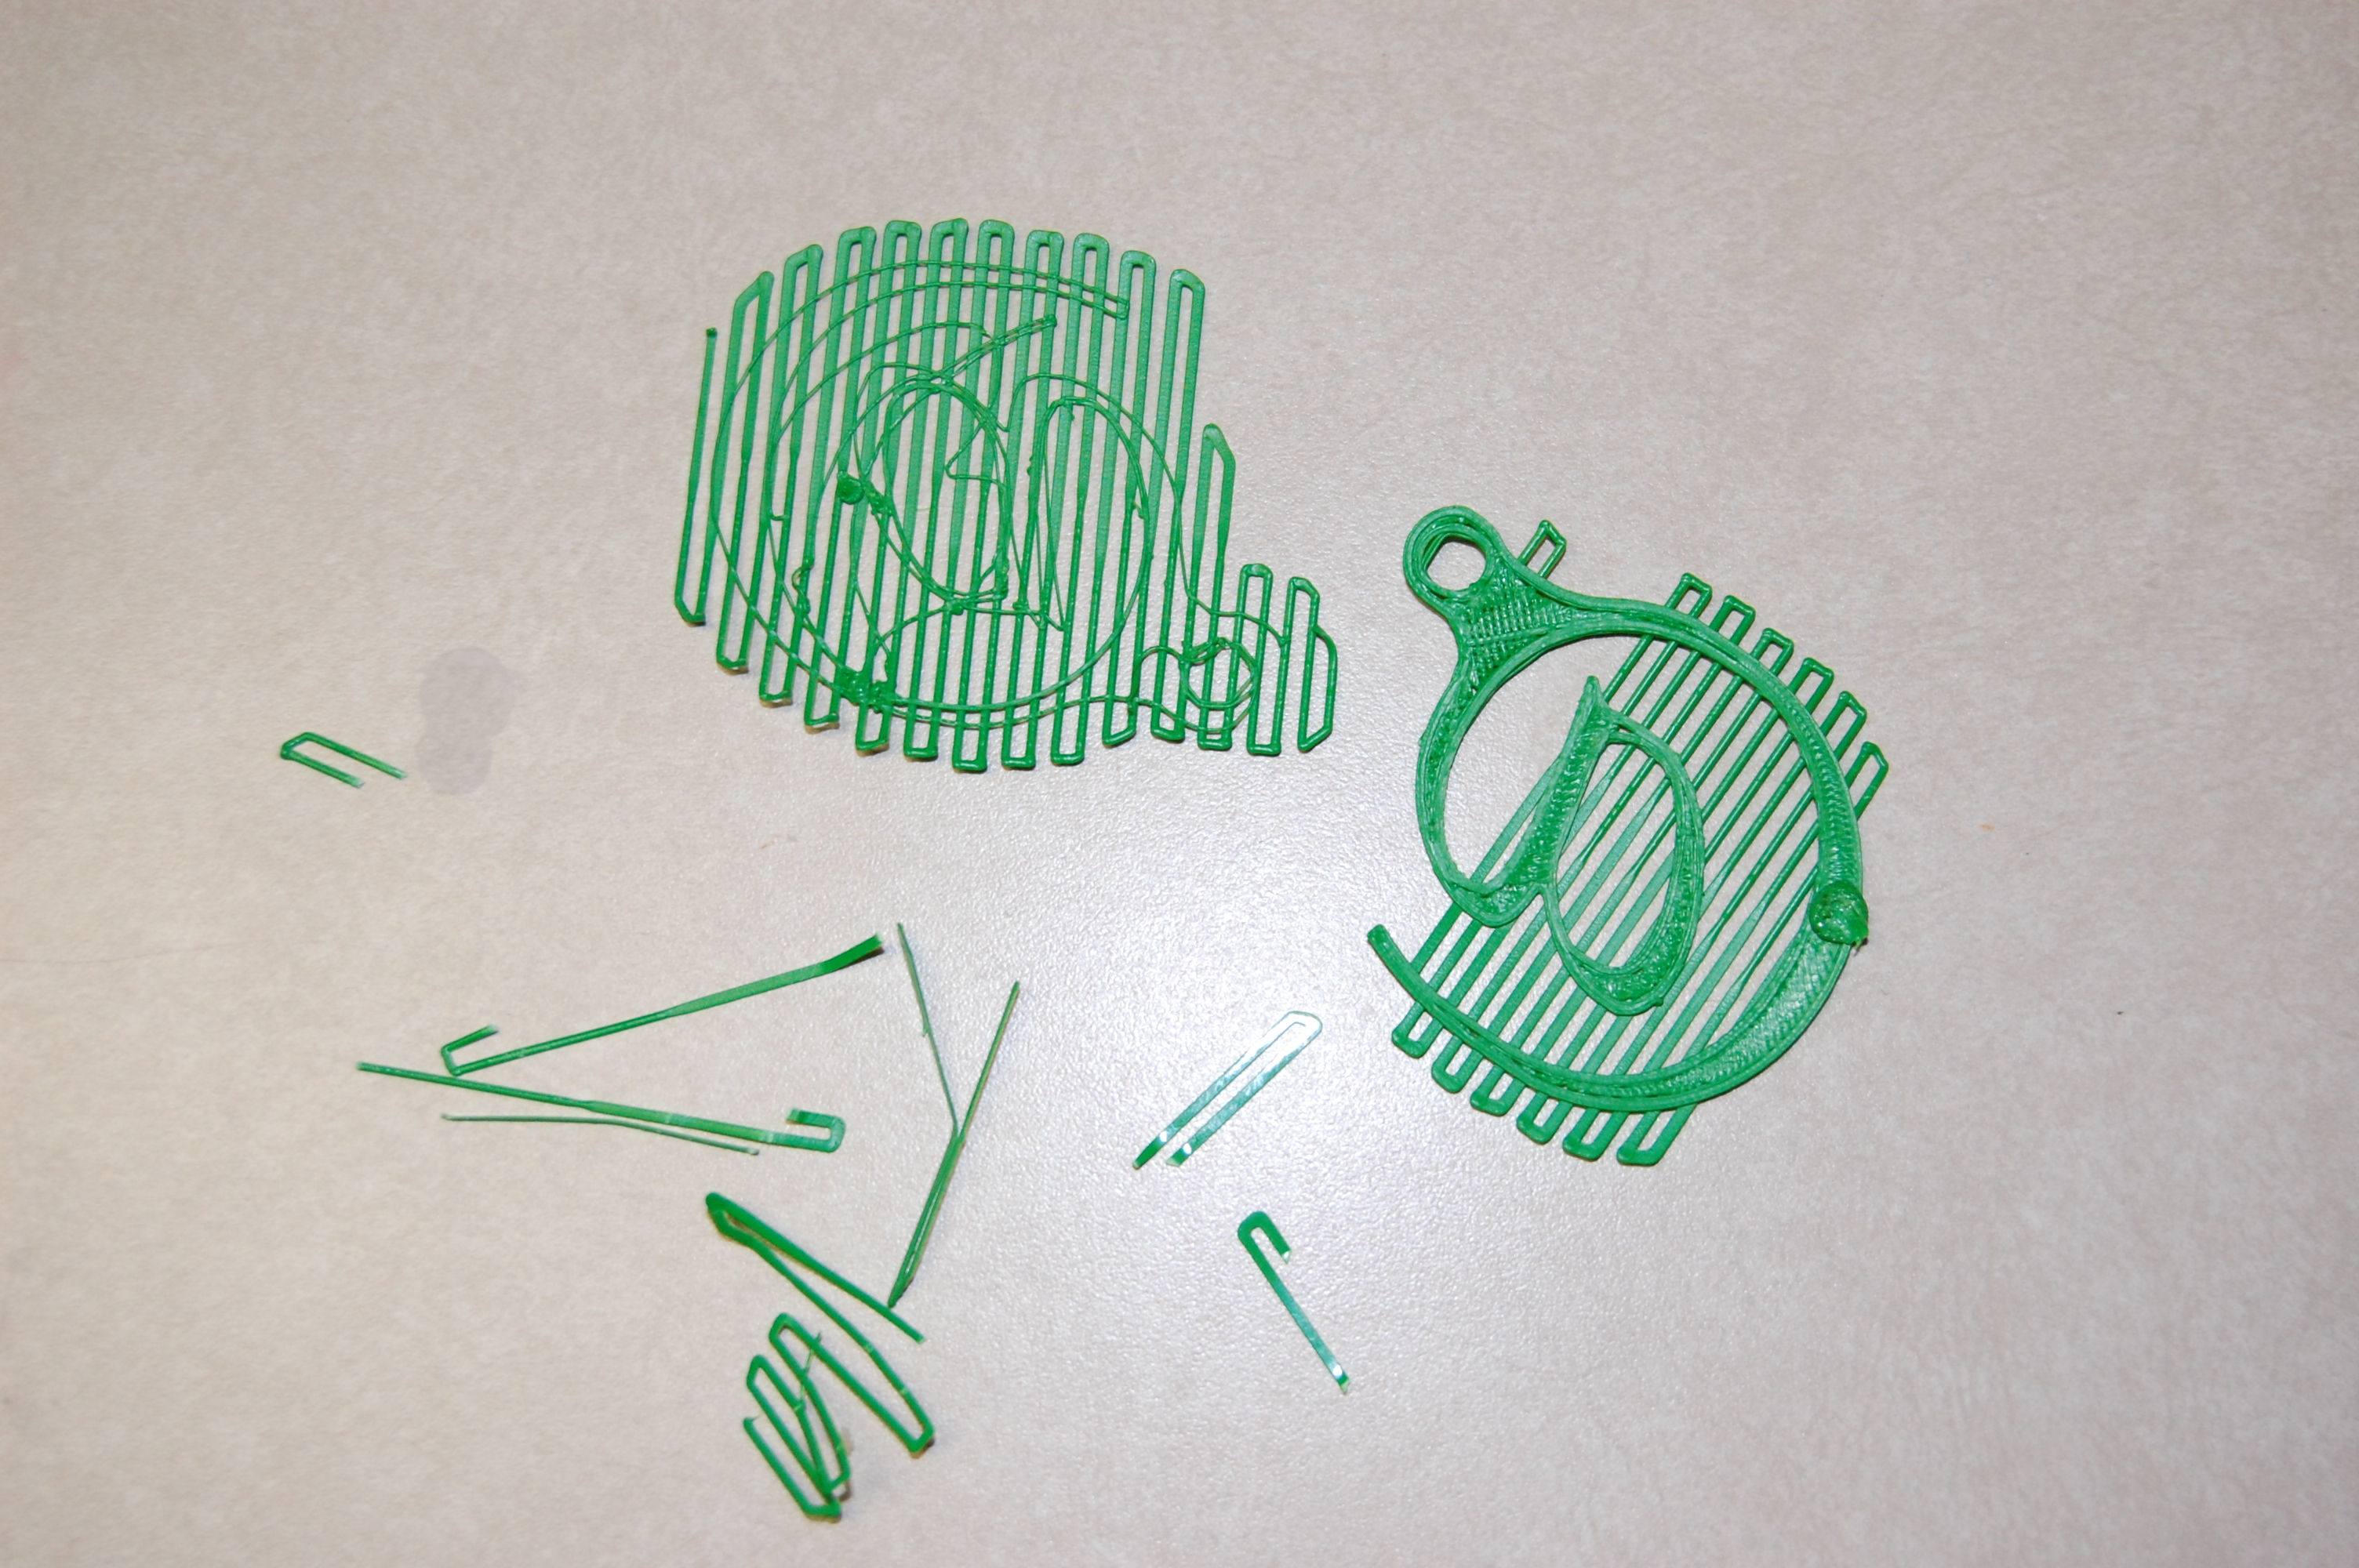
I don't know for sure which is which, I think the one on the left is the first try and the one on the right is the second try.
Clearly this was a small success: we were printing, and the object that was being created is recognizable as the shape we were trying to print. At this point I decided that the printer itself was working, and even though I hadn't printed a successful part yet, I wanted my first "real" print to be something I personally created, not something that I downloaded. I installed Sketchup on my laptop (that is, my employer's laptop,) and quickly designed a keychain with my wife's name embossed on it. (I had previous Sketchup experience.) I exported the object as an .stl file, let skeinforge create a toolpath, and tried to print it.
I was yet again plagued by the object coming off the bed. In addition, the size of the print was significantly smaller than I had modeled. I made three attempts at printing this object and got very frustrated at the Pronterface software since I couldn't figure out how to scale my model or how to reposition the model on the print bed.
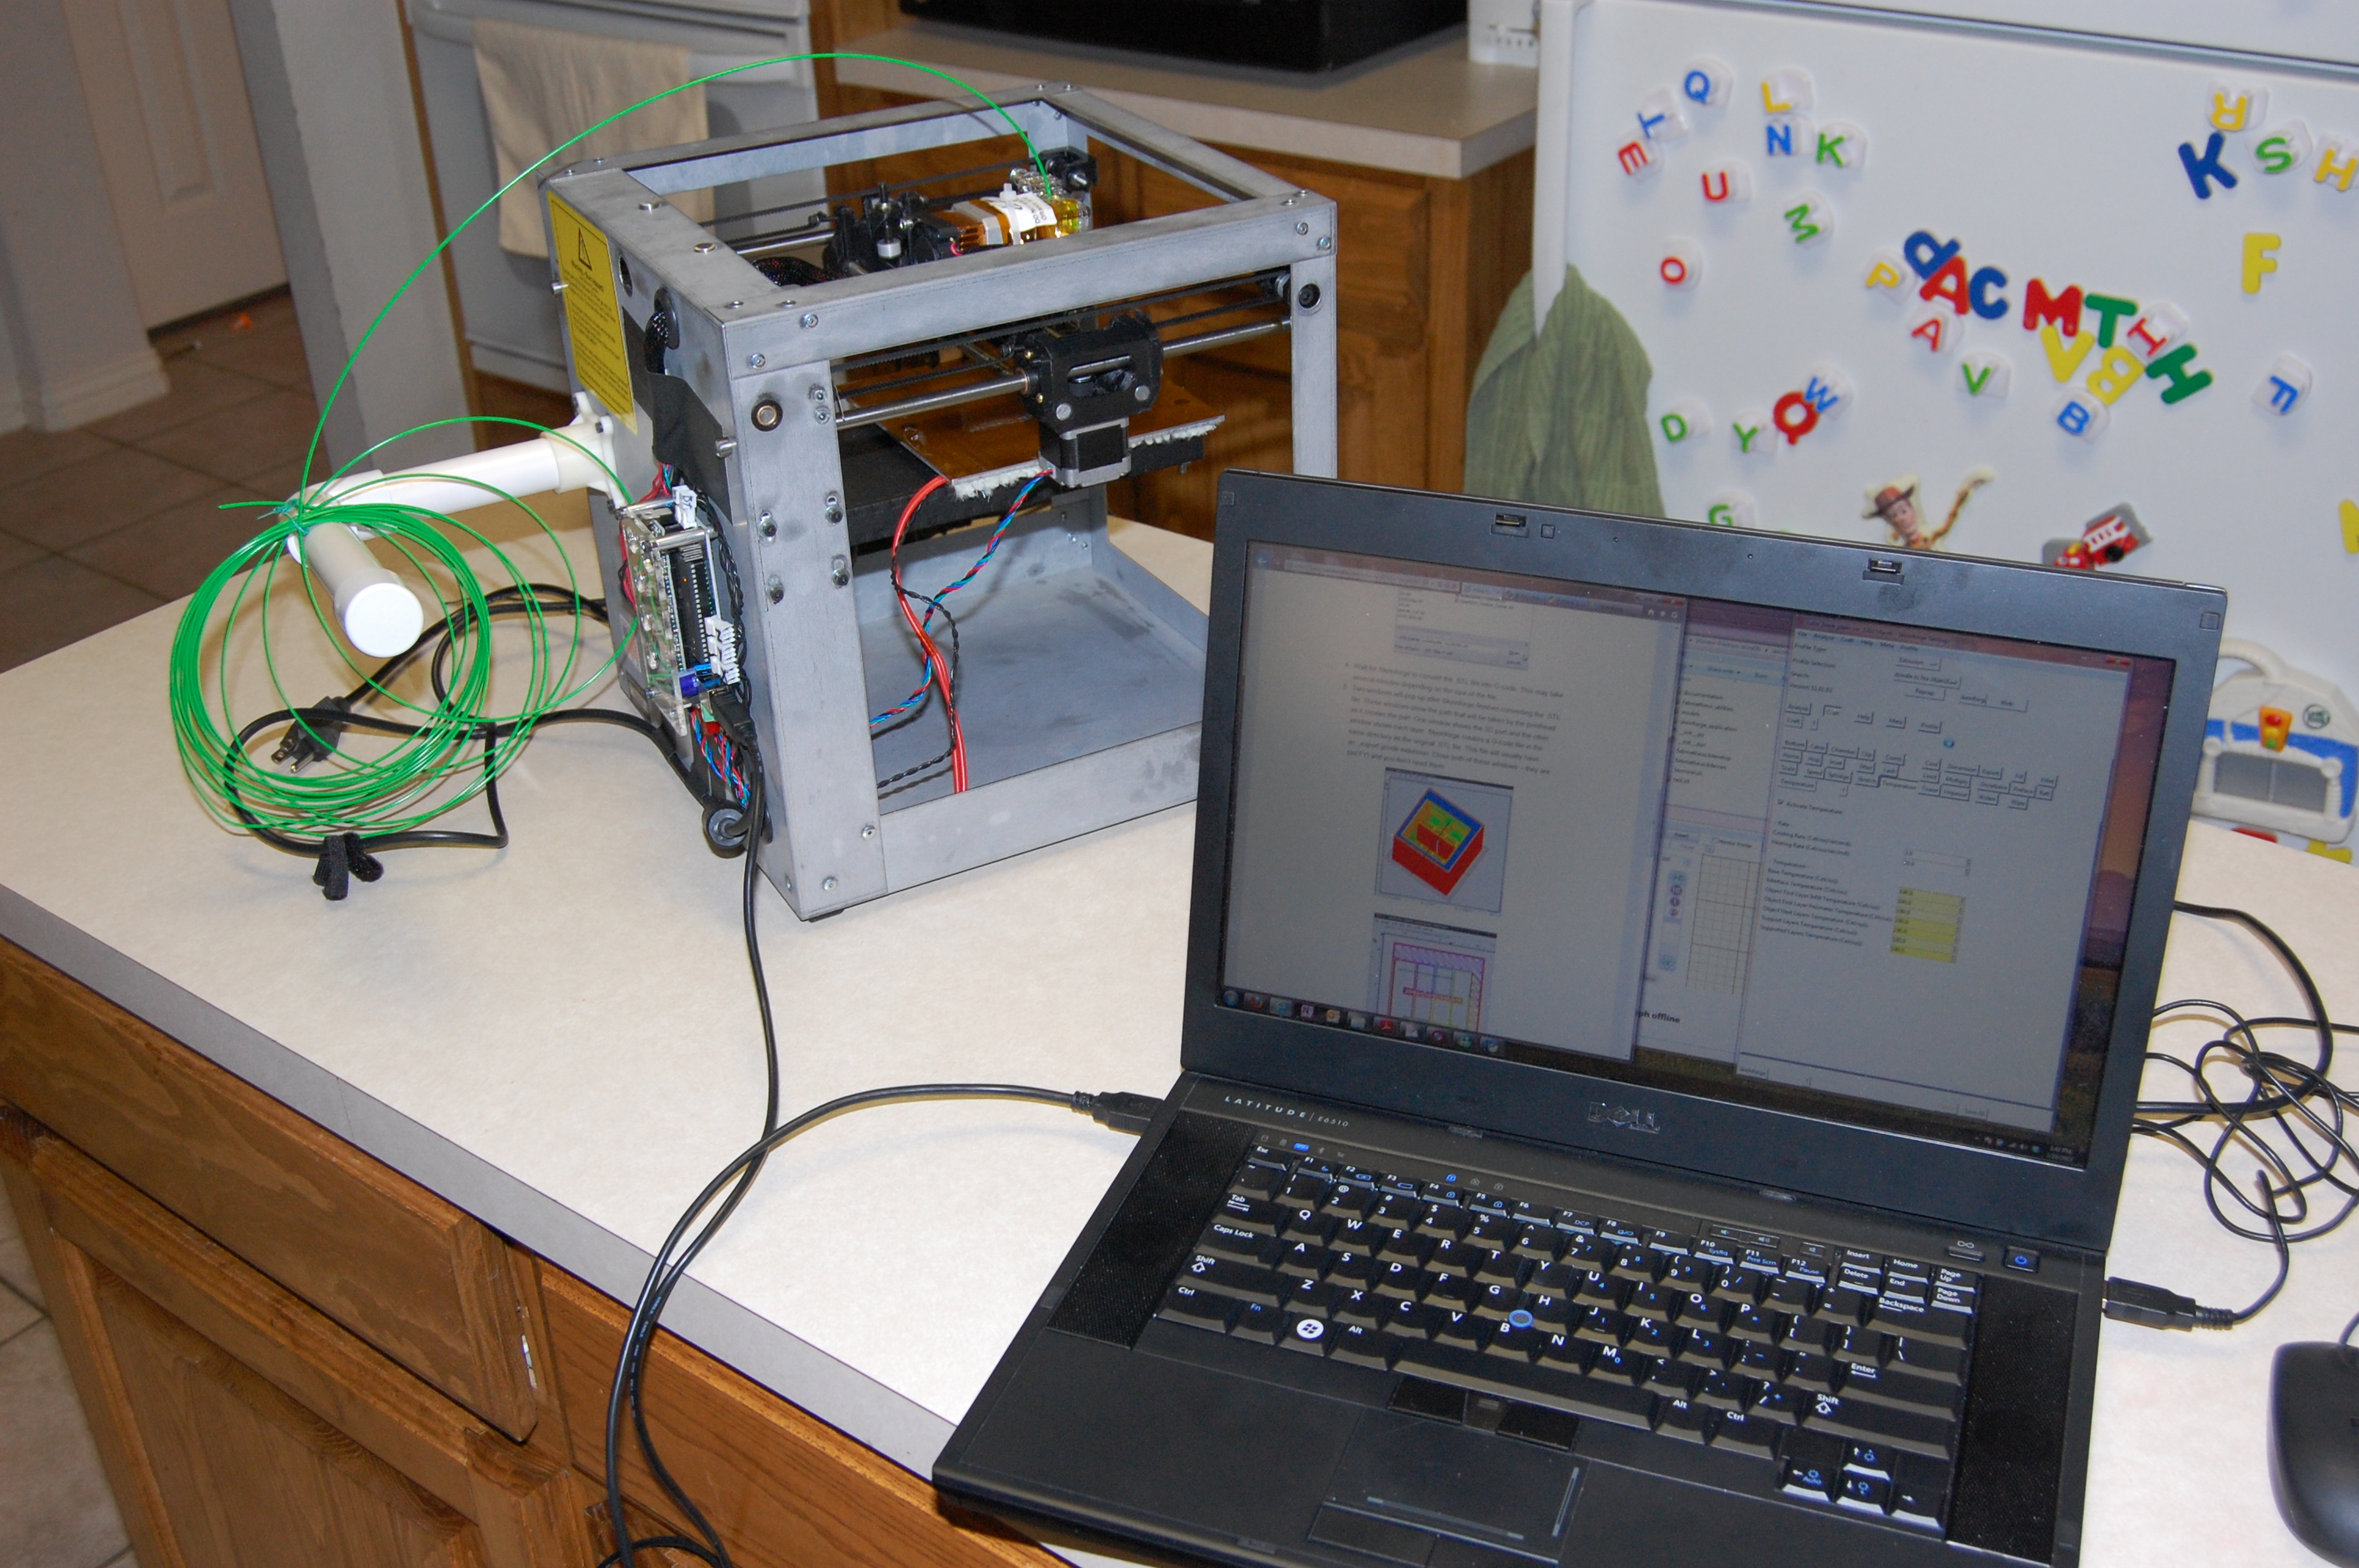
A little research on the web led me to find Repeteir, a free download that includes a functional GUI front-end with two different slicers (Slic3r and skeinforge) and a Python installer. If you're considering the purchase of a Solidoodle or are reading this blog while waiting for your printer to ship, I highly recommend installing Repetier and skipping Pronterface altogether.
I dinked around a little with Slic3r settings, not really knowing what I was doing, and managed to import my model and generate a toolpath. I hit the Run Job button and hoped for the best.
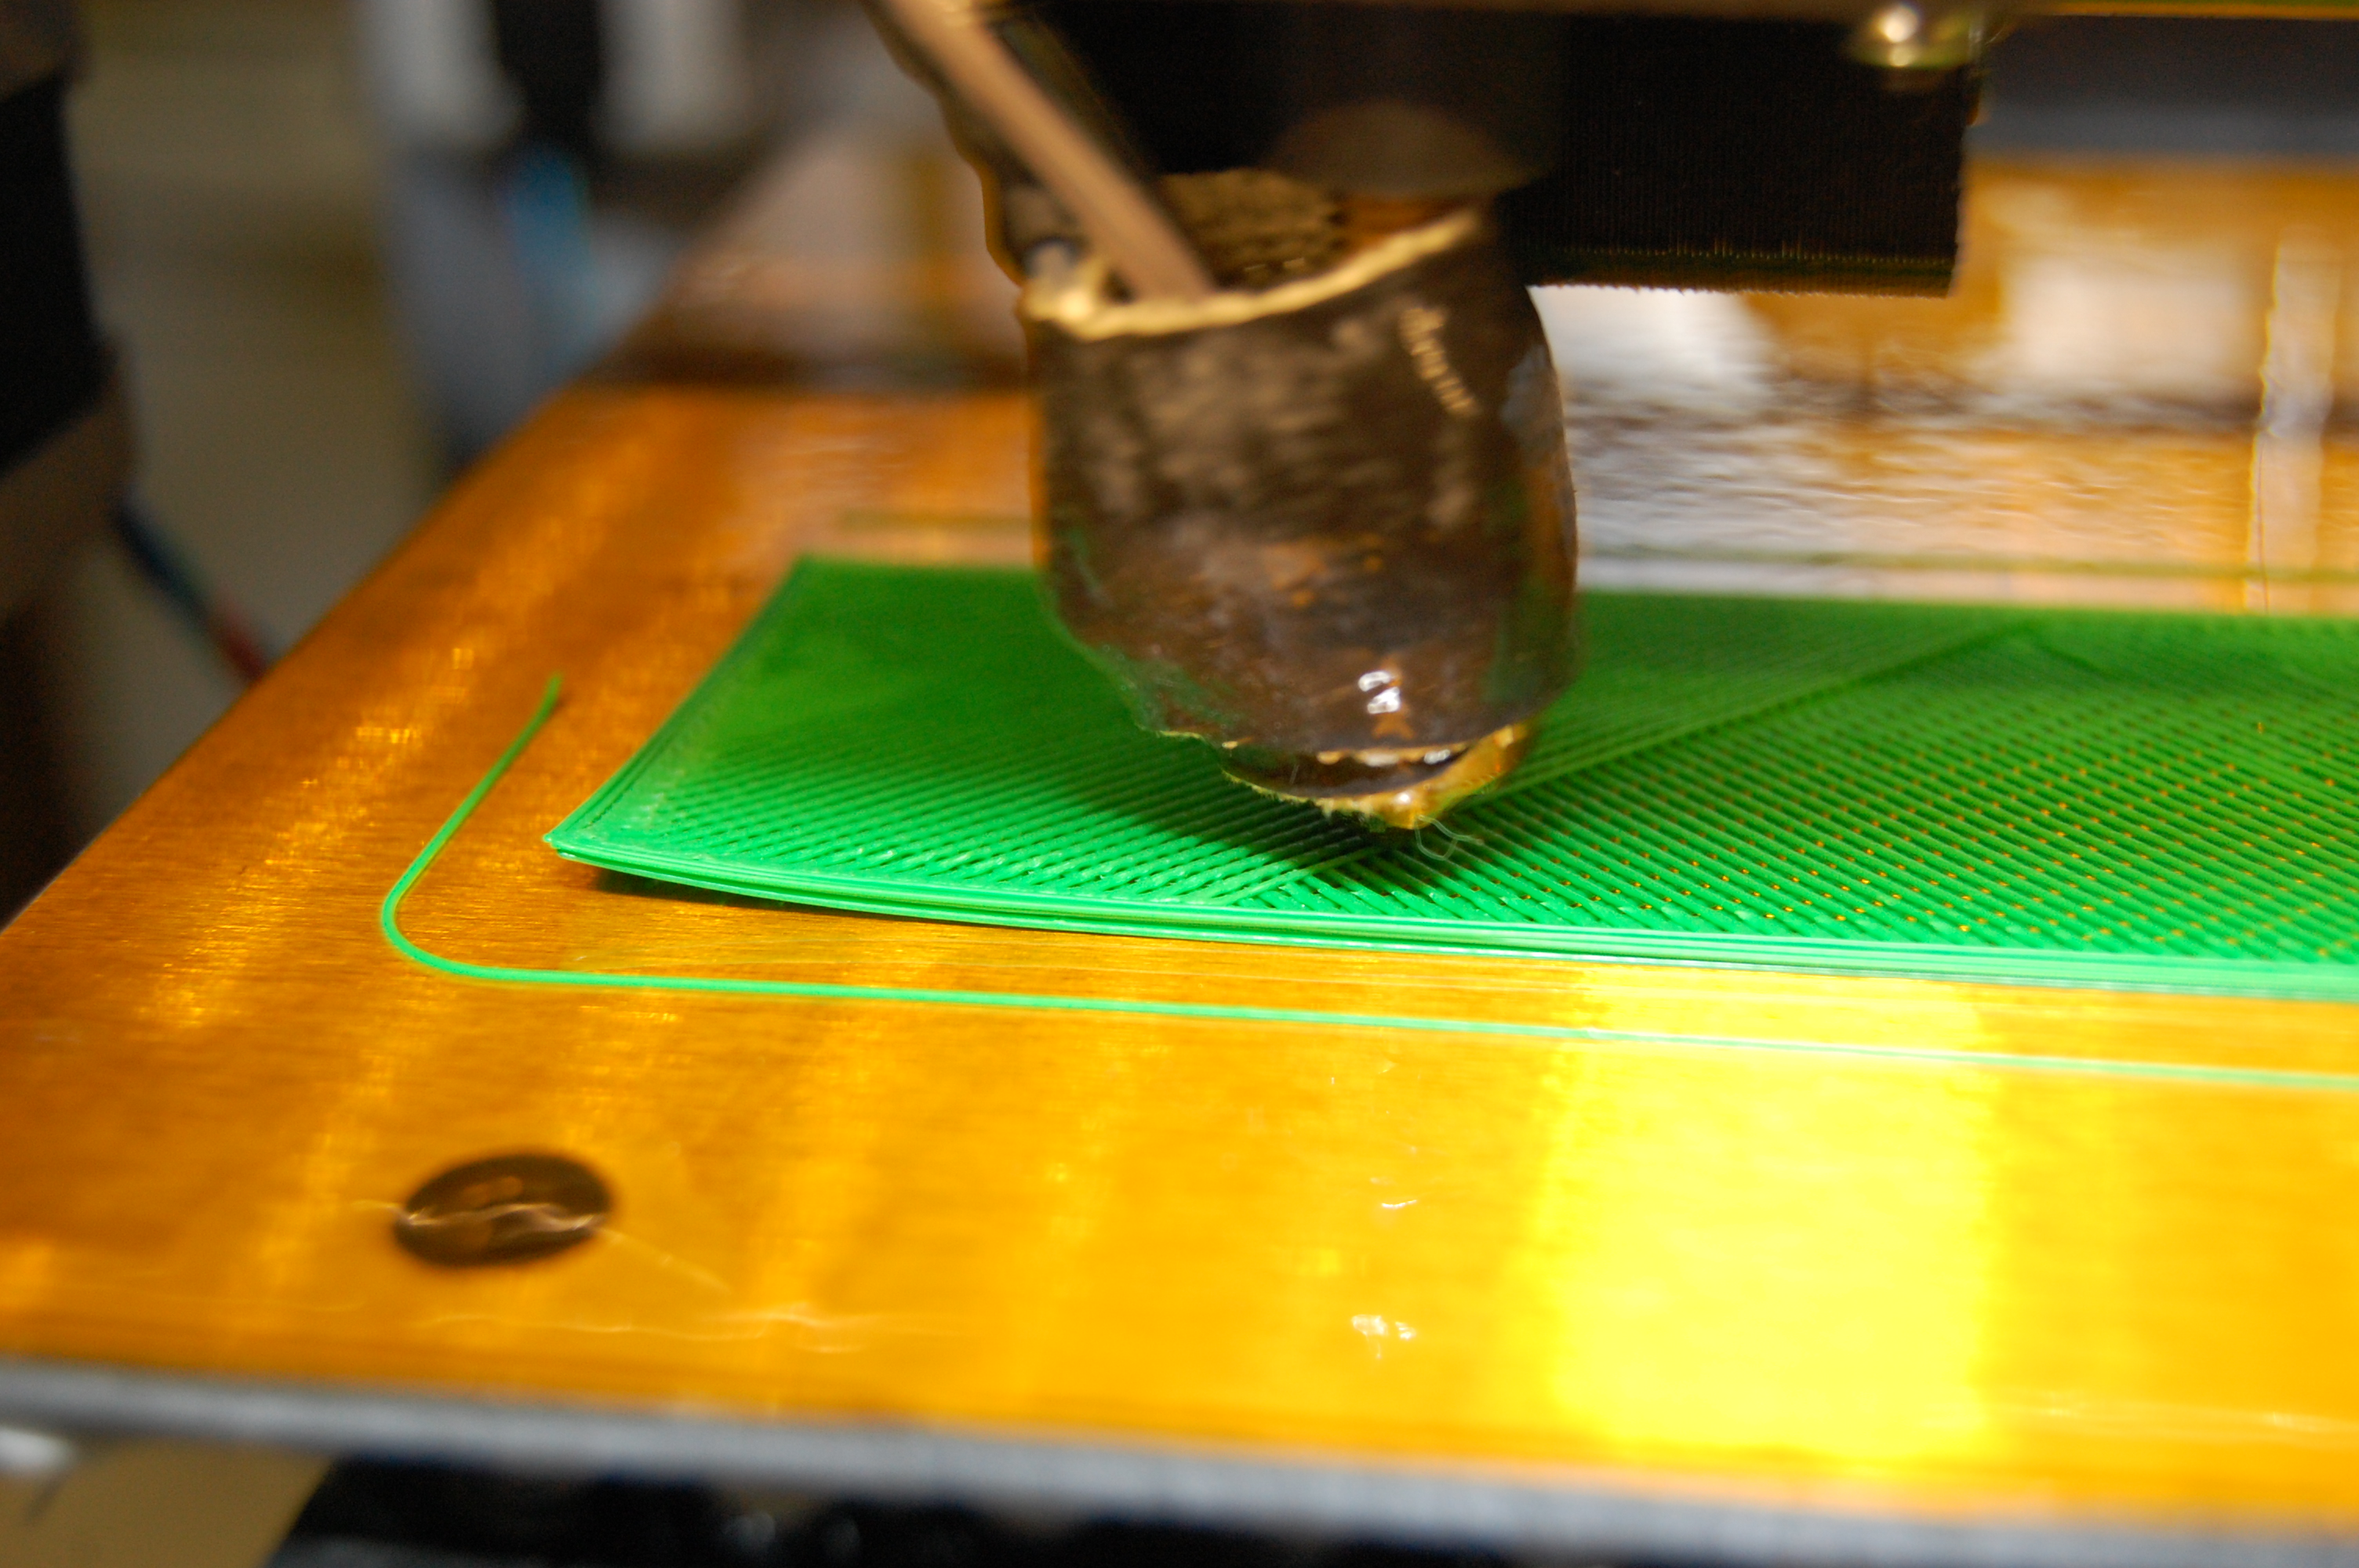
The first thing I noticed about Repetier is that it managed the preheating of the bed and extruder for me. It then printed an outline of the part (I'm guessing just to prime the extruder nozzle and ensure the ABS was flowing). It then started to print the first layer of the part on the bed without a raft. This is what my first print with Repetier looked like:
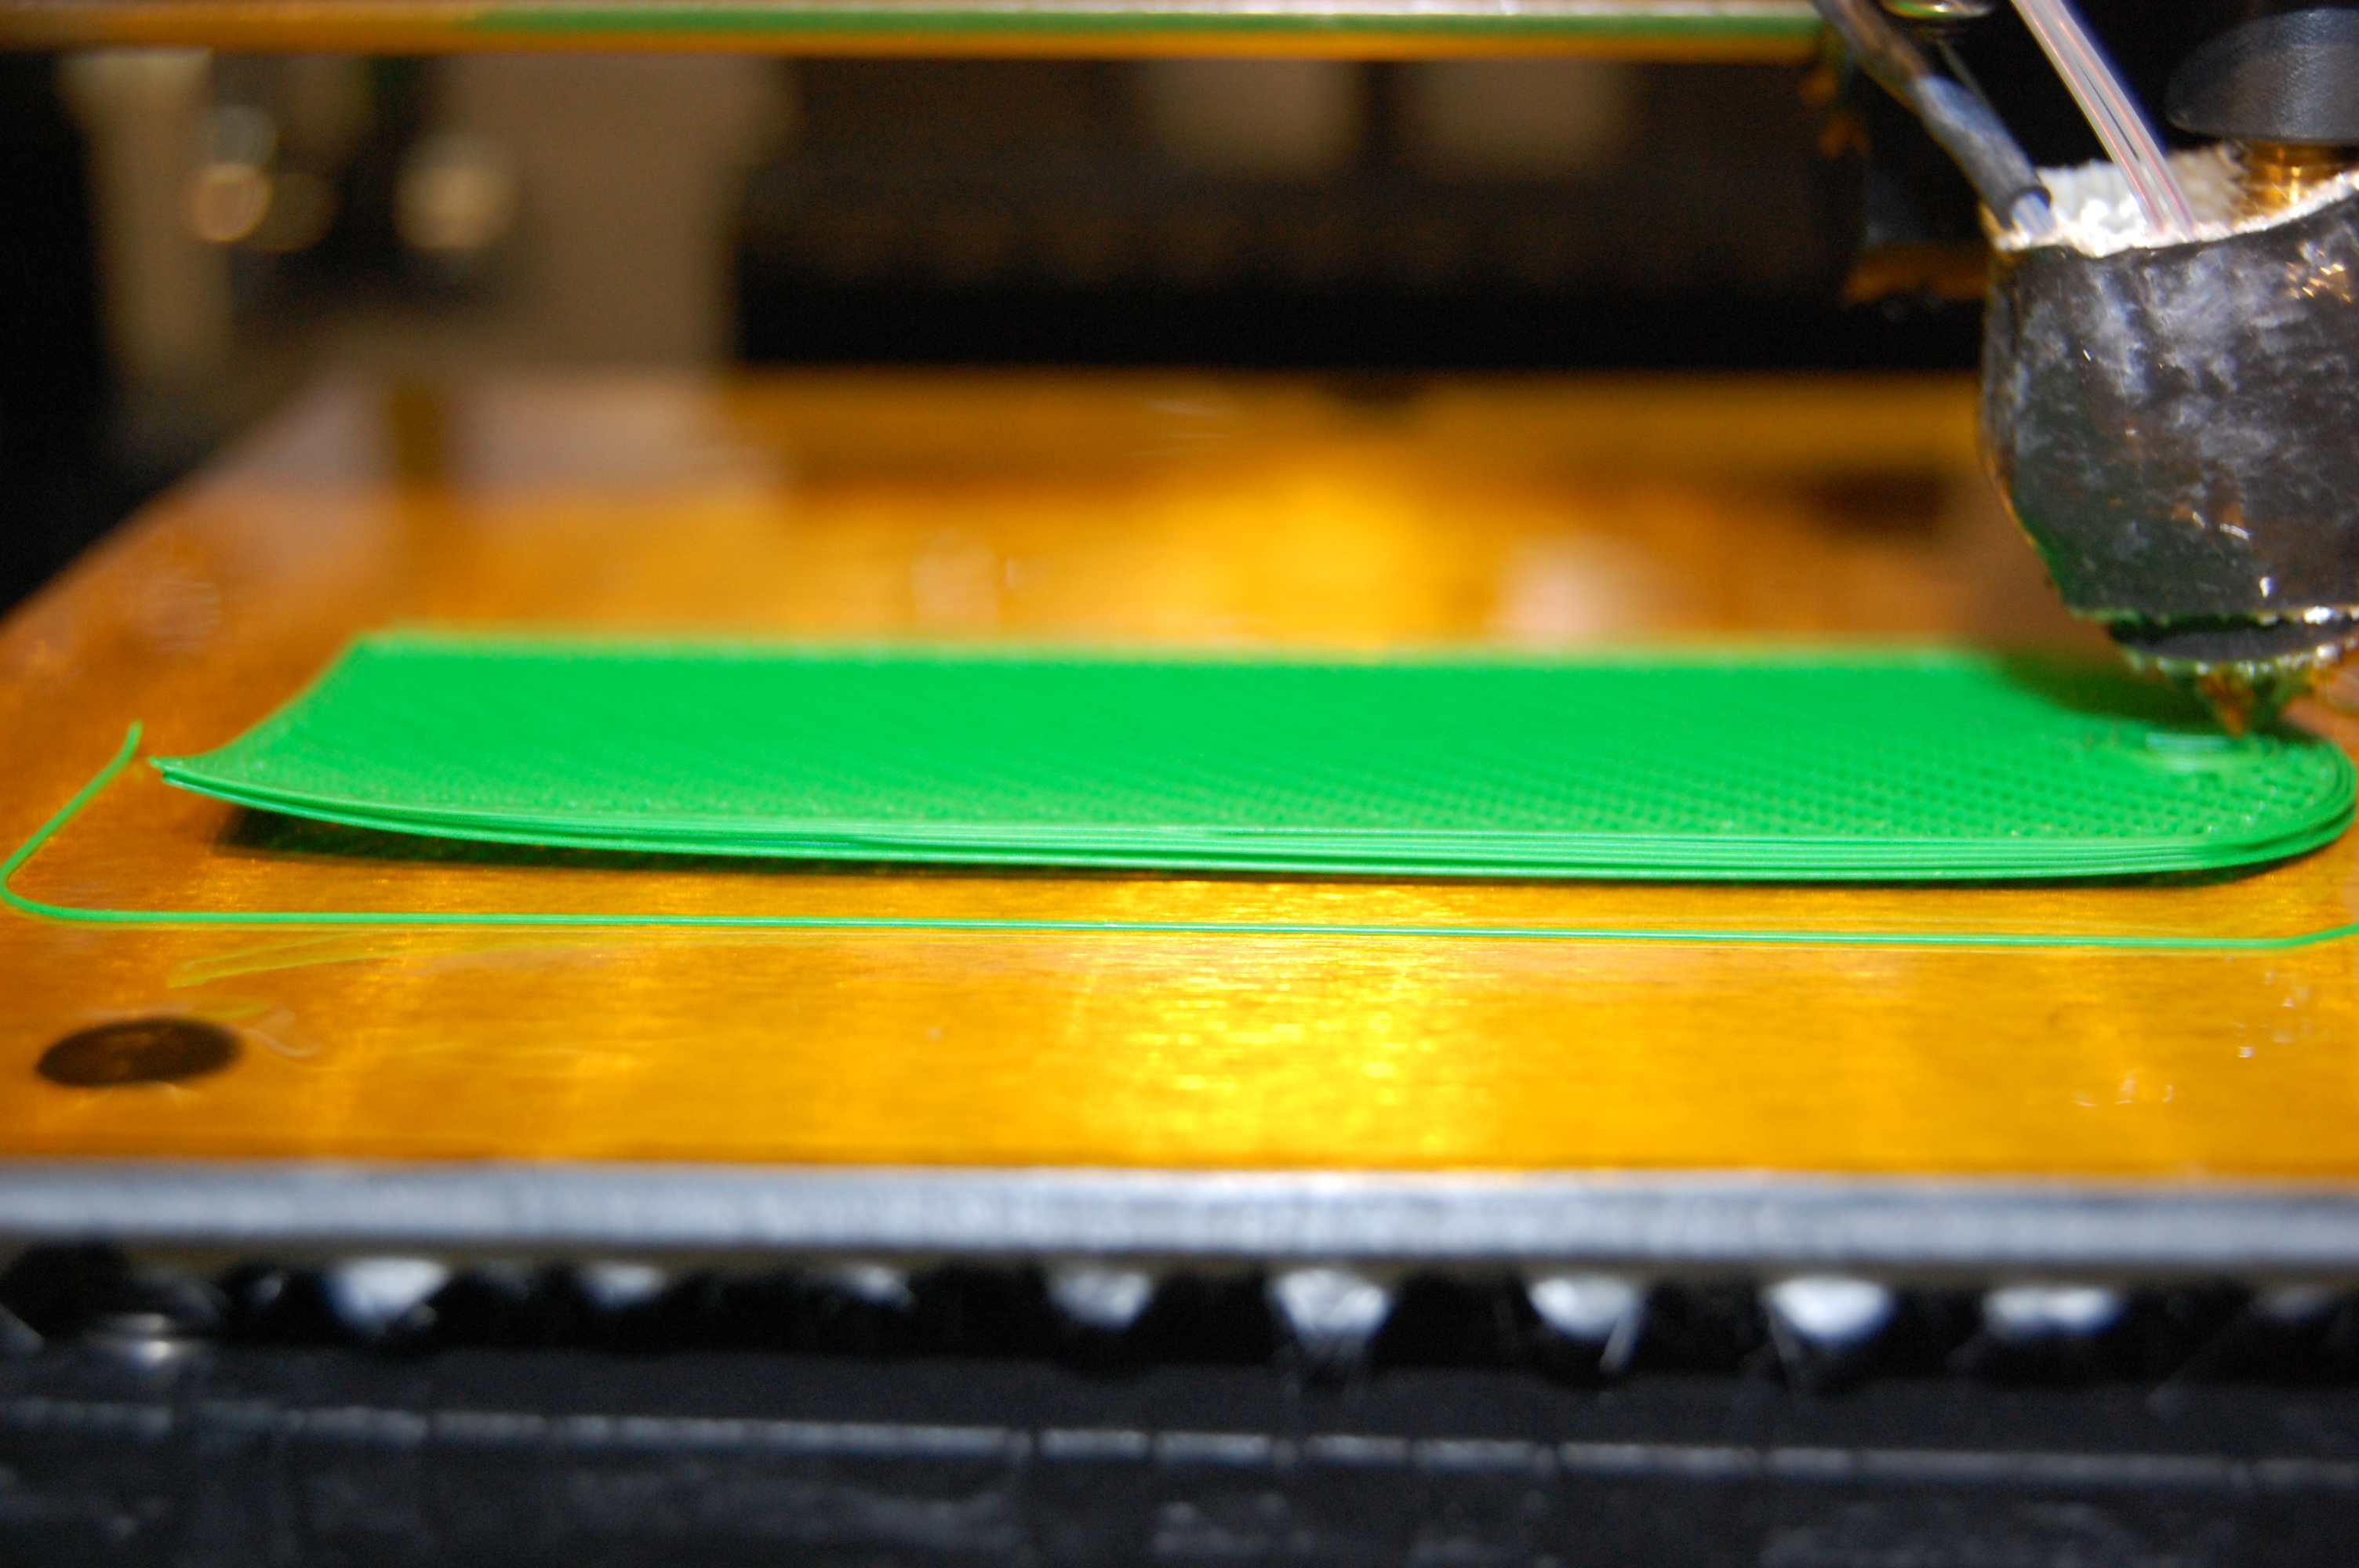
You can see that the individual passes of filament are spaced too widely here; that's supposed to be a solid surface there. However, it was exciting to see the printer work and print my object at my desired size so I let it run. The second layer was printed at 90 degrees to the first layer. Unforutnately, the corners of the object started curling up from the bed. Here's what it looked like as it was printing the third layer:
As the print progressed, this curling got worse:
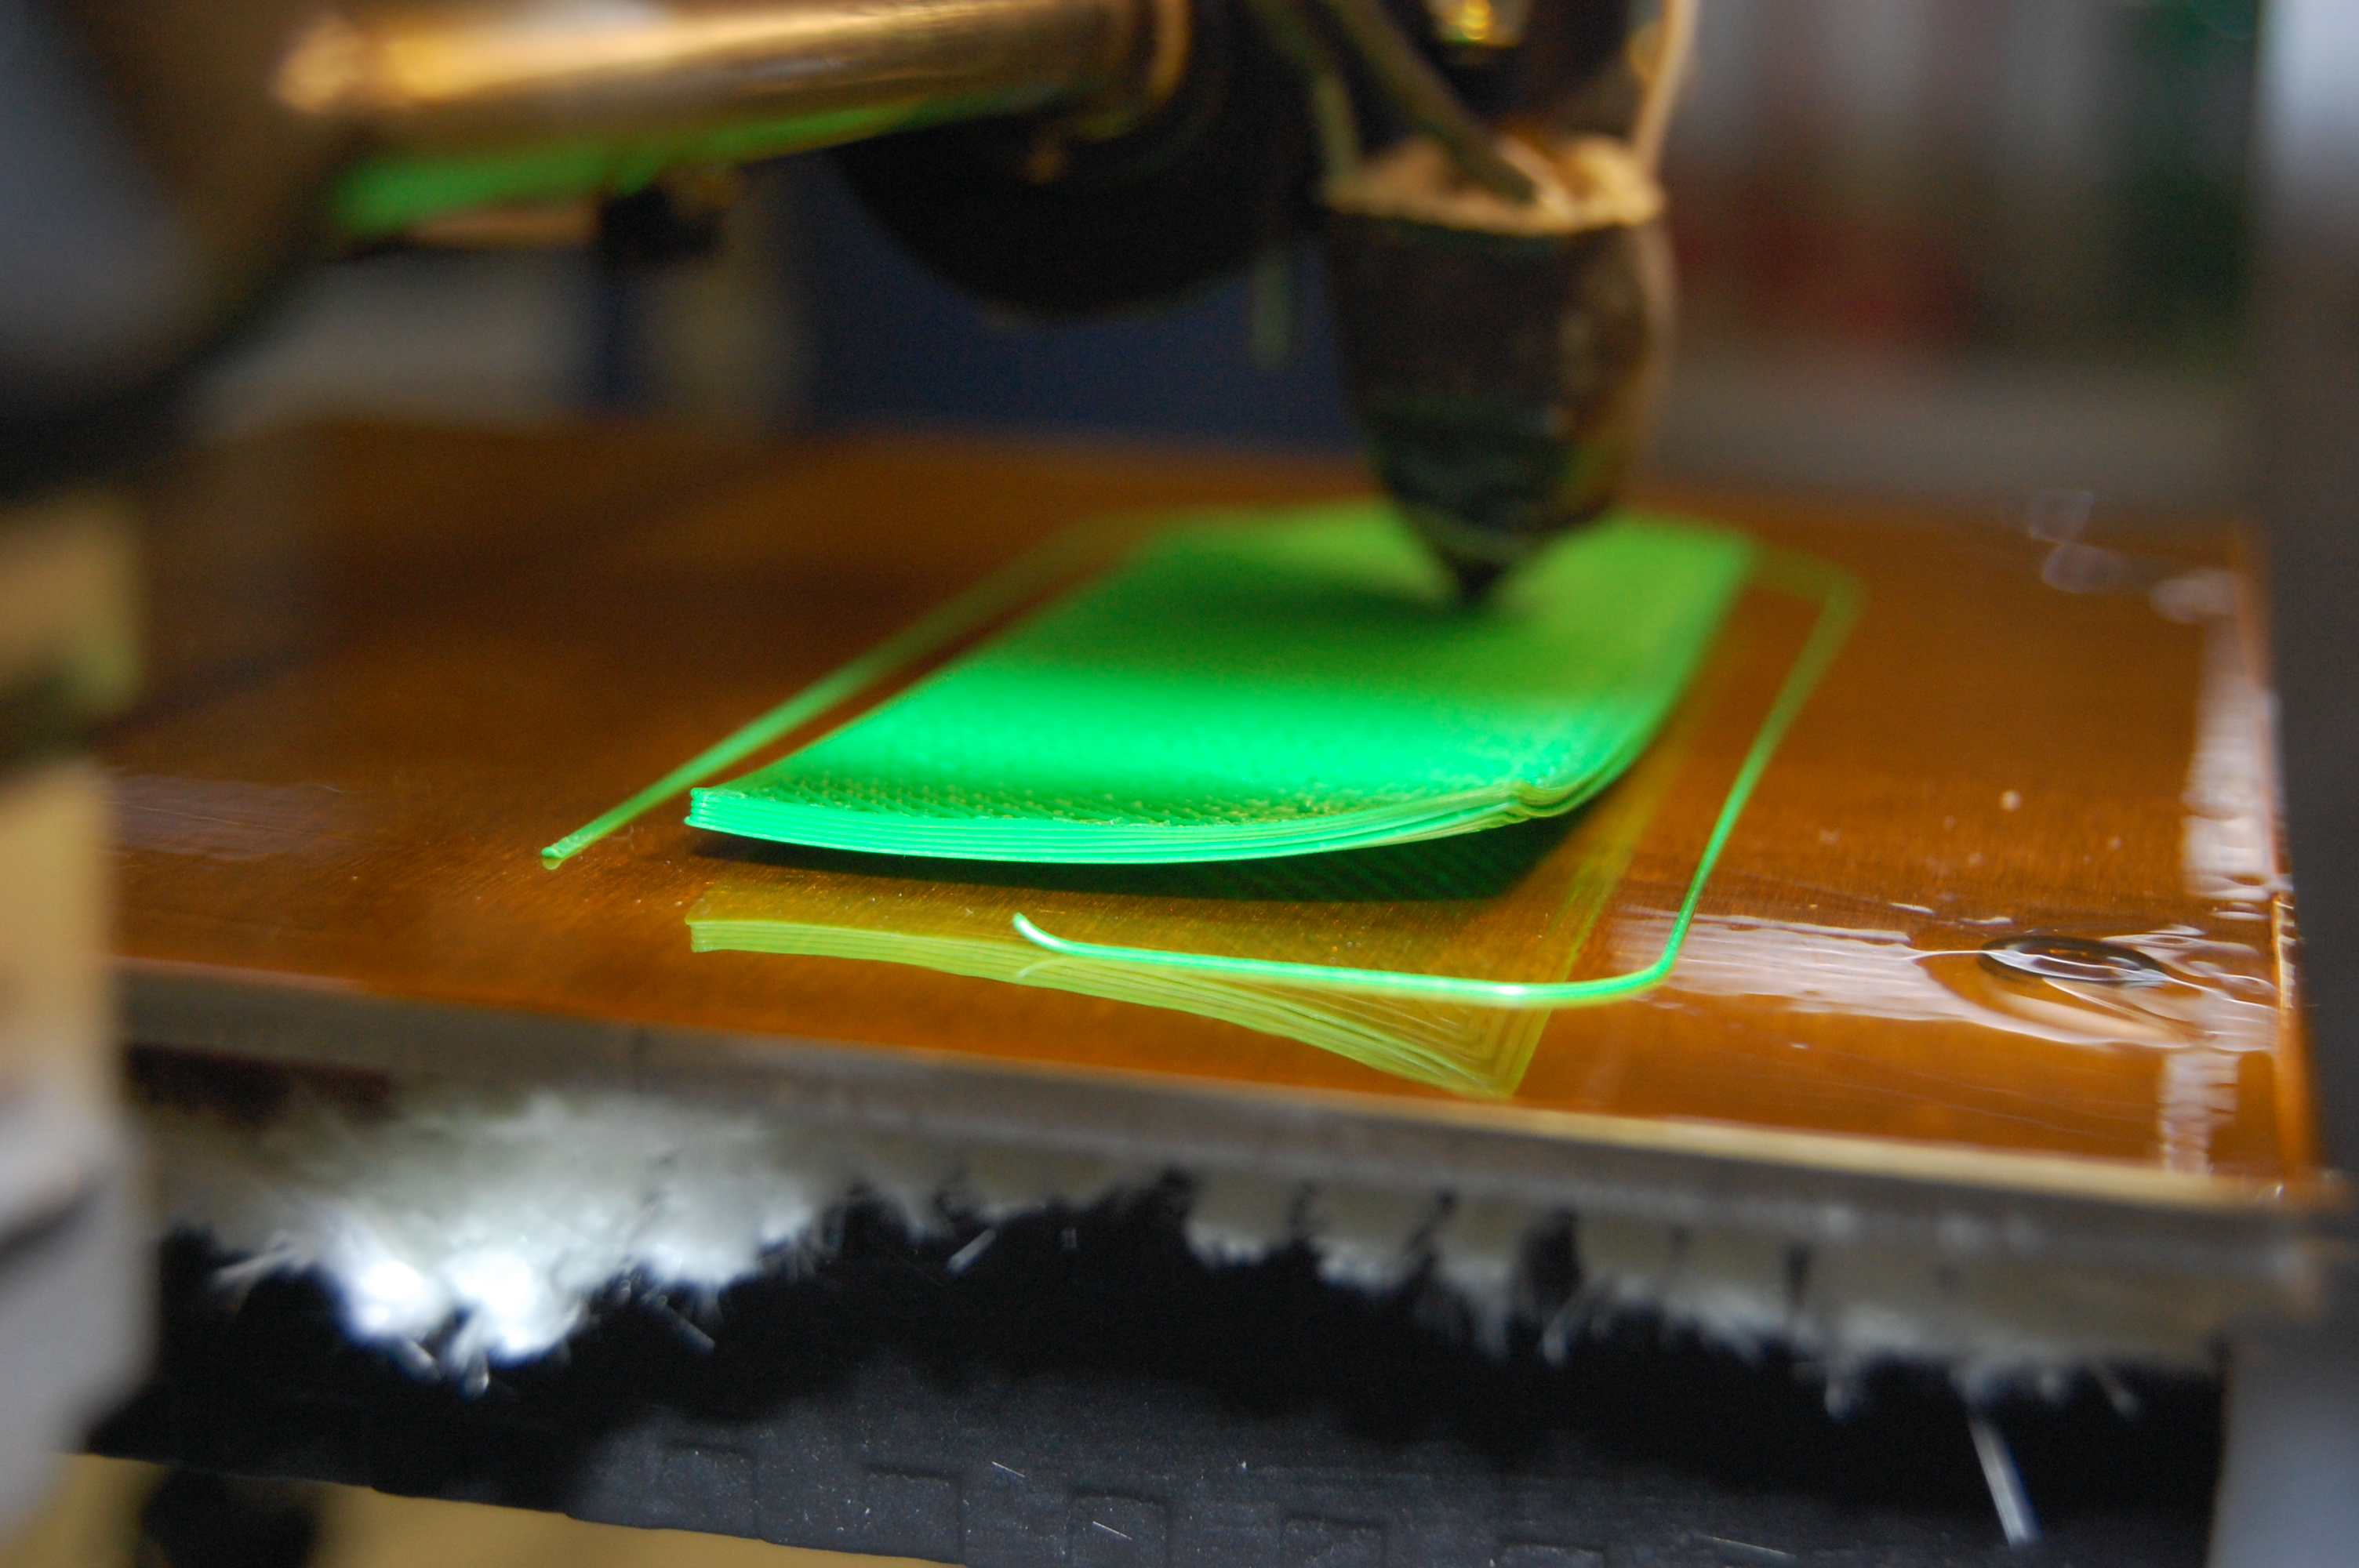
It wasn't long before the part separated from the bed completely and I stopped the print. I tried this twice before giving up for the night with a collection of half-printed parts:
I went to bed with visions of 3D printed objects in my head, but nothing solid in my hand.
Yesterday at work I registered with the community at Soliforum.com and started reading. Apparently I'm not the first person who's had problems getting models to stick to the Kapton film on the print bed. It seems that using a sheet of glass, coated with hairspray, and clamped to the bed with binder clips, is a popular alternative to printing on the Kapton film. So I had a 6" by 6" scrap of glass cut at the local hardware store, found the wife's hairspray, and tried a print.
I had the same result.
I also noticed that the screws that hold the bed of the printer to the lift mechanism aren't properly countersunk. The heads protrude above the surface of the bed, which means that the glass isn't making good contact with the bed and I expect the thermal conductivity there is poor. I'm disappointed at what I perceive as a manufacturing defect; I'll have to do further research on that. Since all my tools are in storage right now due to construction of the workshop, I don't have the ability to countersink those holes further.
I haven't had time to do much experimentation, and I'm running out of the filament that shipped with the printer. I also want to focus my attention on building the workshop right now. So I think 3D printing will have to wait for a little bit. (Besides: the wife wants her kitchen counters back!) I hope this is helpful to those of you considering the purchase of a Solidoodle or who are waiting for backordered printers to arrive.
Rise the bed temperature up to 110 C.